
Last updated November 16, 2026
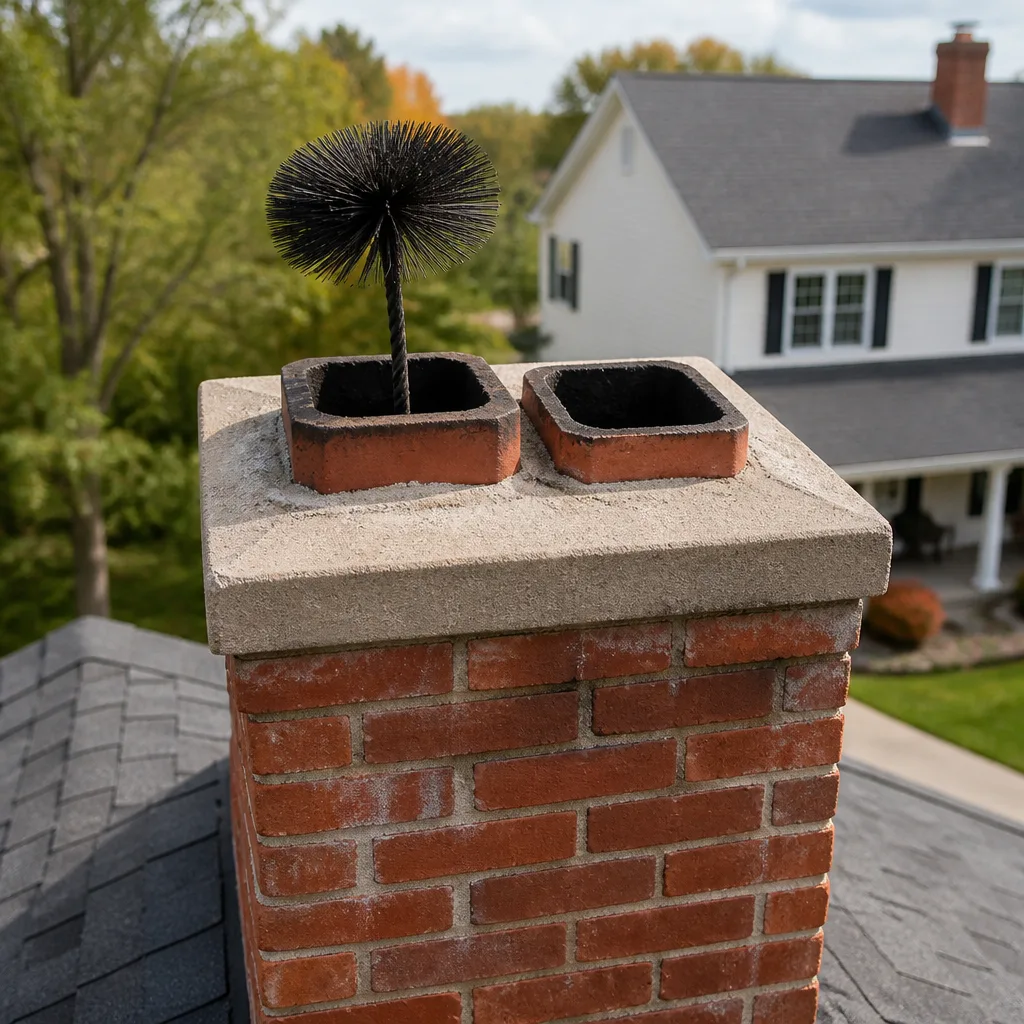 Sweep & inspection
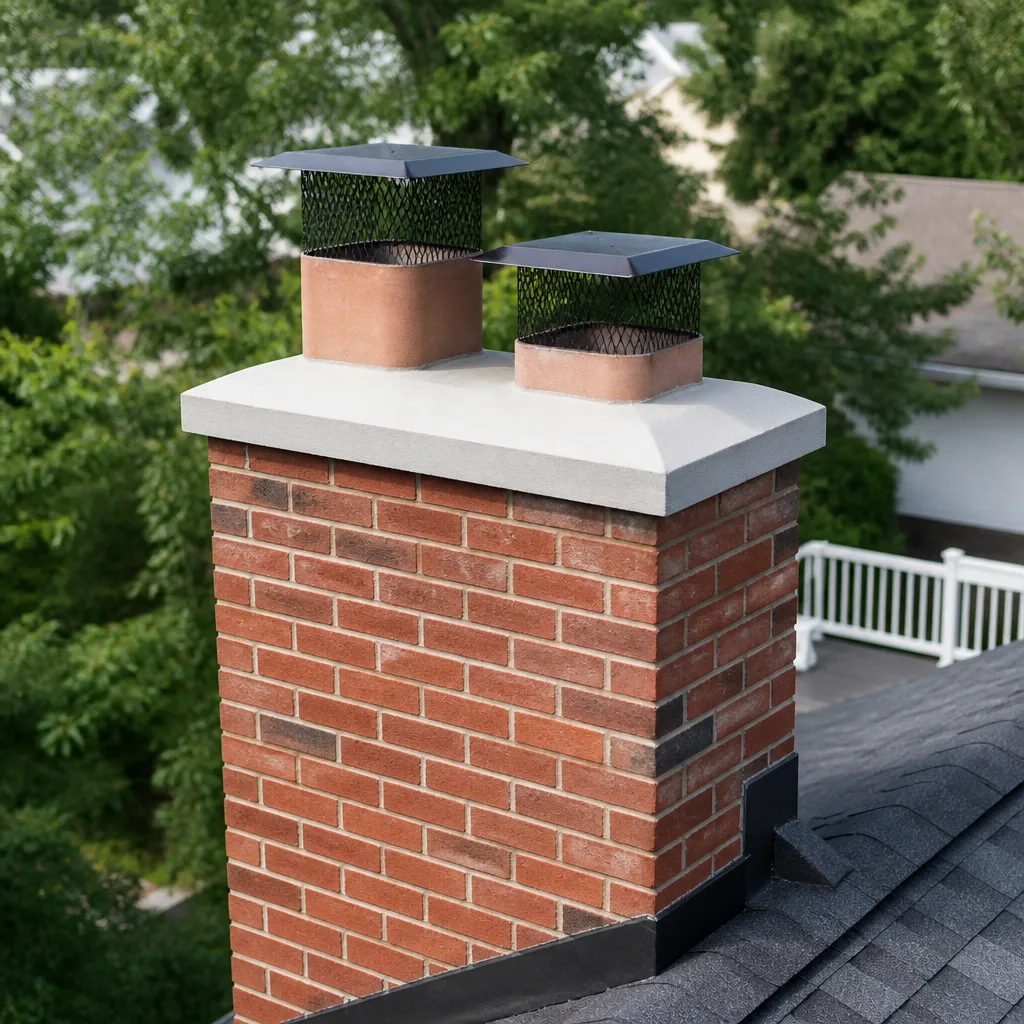 Caps & crowns
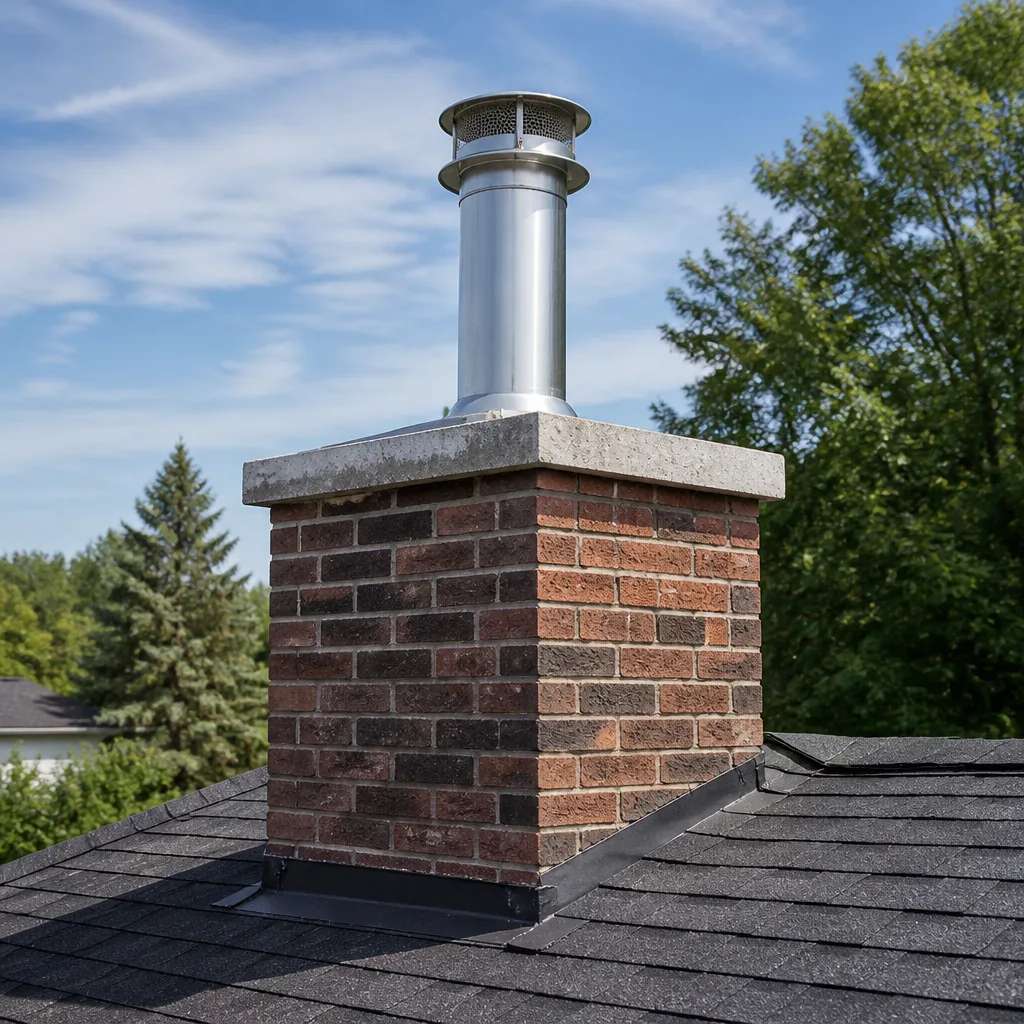 Flue relining
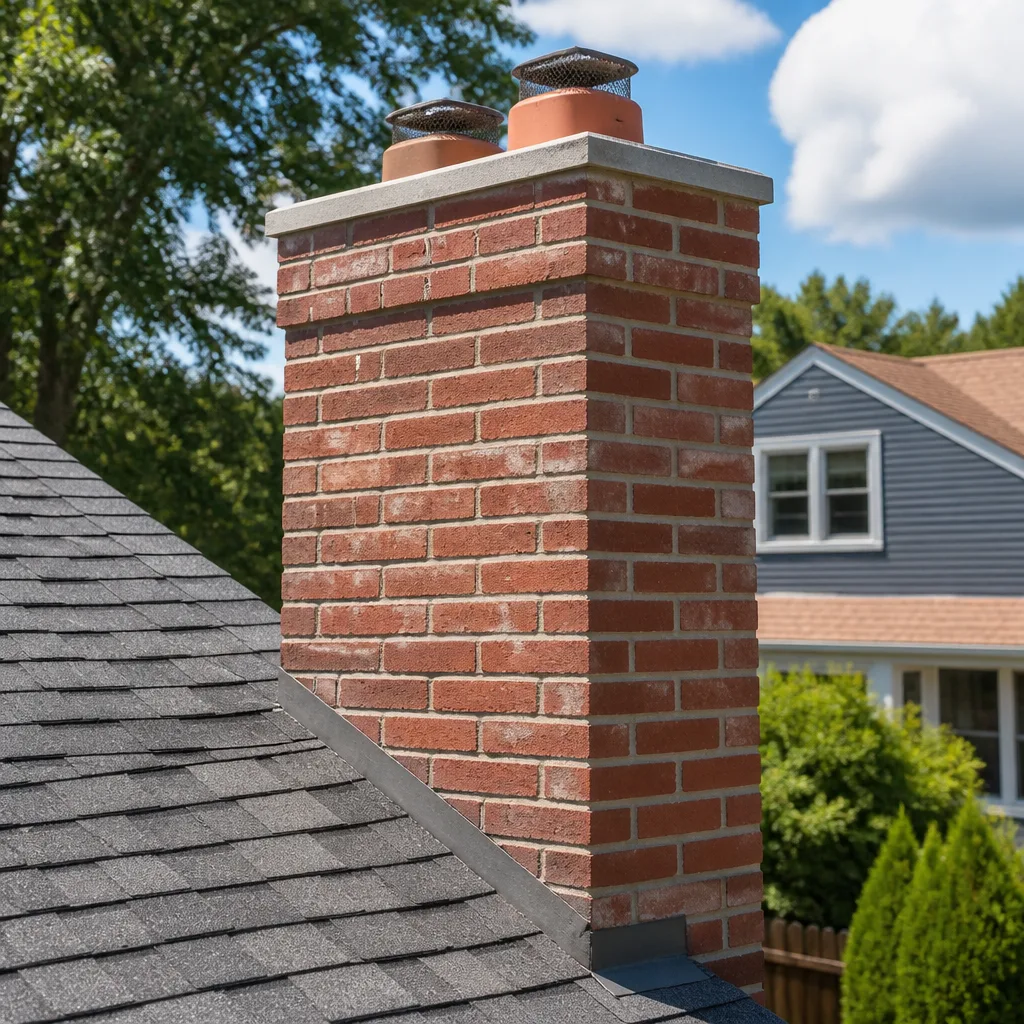 Masonry repair
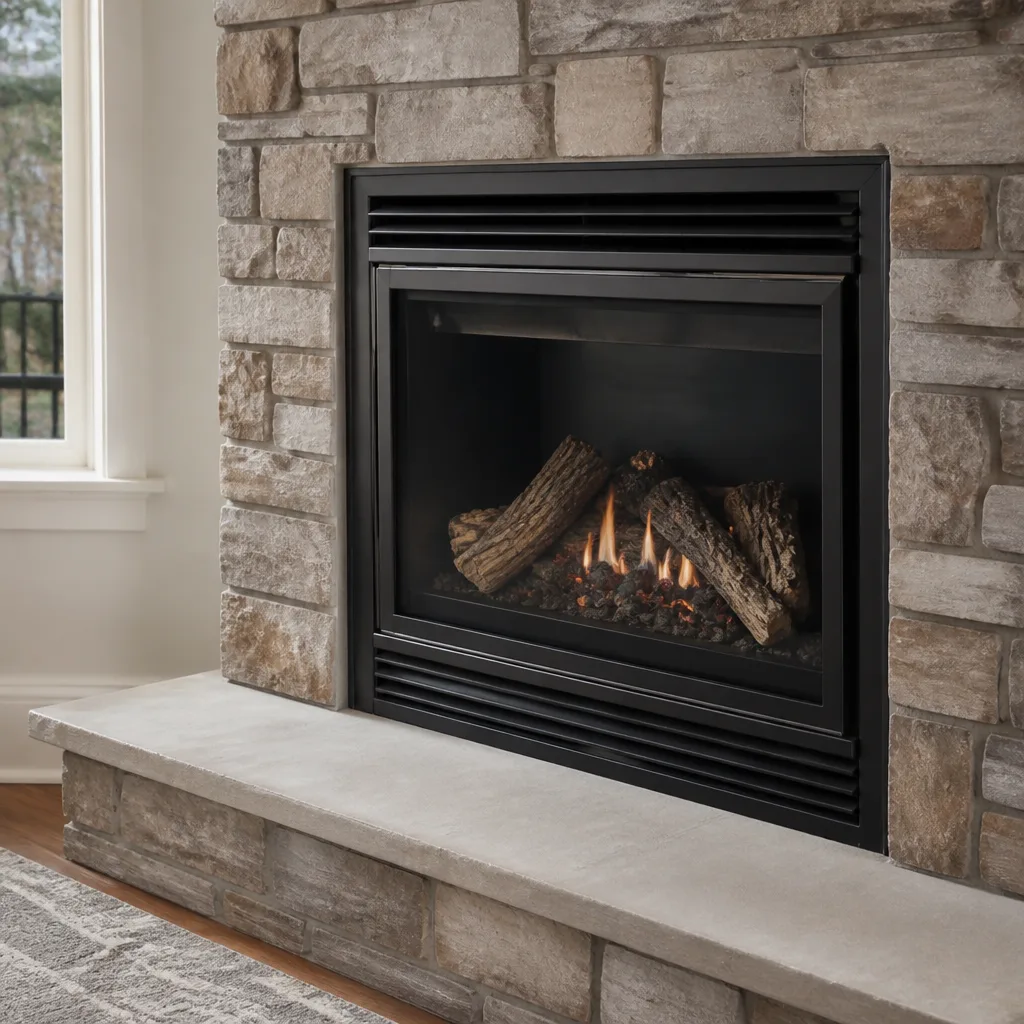 Gas fireplace service
Level 1 sweep and inspection to the NFPA 211 annual standard - flue, crown, cap, and flashing checked and photographed
Chimney sweep logs do not sweep chimneys. They loosen some creosote - which then falls where a brush and vacuum still have to collect it.
DIY vs Professional Chimney Cleaning: The Norfolk Homeowner’s Decision Guide
Chimney brush kits sell the idea that cleaning is the whole job. It’s not. Cleaning without inspection is like changing your oil without looking at your belts – you’ve done maintenance, but you’ve skipped the part that catches what actually fails. The question isn’t whether you can brush your own flue. It’s whether brushing alone is enough. In Norfolk, where a lot of housing stock predates modern liner standards, the answer is usually no. This guide walks through exactly what a DIY sweep accomplishes, what it can’t, and how to decide which parts of chimney care belong in your hands and which don’t.
Quick Answer
A DIY brush cleaning can remove loose soot and light, flaky creosote from an accessible single-story flue, but it cannot assess liner condition, detect hidden cracks, or handle glazed creosote that needs rotary equipment or chemical treatment. For most Norfolk homeowners – especially those in older multi-story homes with offset flues – a professional sweep plus inspection delivers far more value than brushing alone, because the inspection catches problems a brush will never reveal.
Styles & brands we work with
- Sweep & inspection
- Caps & crowns
- Flue relining
- Masonry repair
- Gas fireplace service
Table of Contents
- What a DIY Brush Cleaning Actually Does
- The Three Types of Creosote and Which One You Can Handle
- The Inspection Gap: What You Can’t See From the Firebox
- Why Norfolk Housing Stock Complicates DIY
- Insurance and Liability When You Clean It Yourself
- The Legitimate Hybrid Approach
- What a Professional Sweep Actually Involves
- Common Mistakes to Avoid
- When to Call a Professional
What a DIY Brush Cleaning Actually Does
A DIY brush cleaning removes soot and light creosote from the flue walls it can physically reach. That’s the honest scope. If you have a straight vertical flue, single story, a clean-out door at the base, and a brush matched to your flue’s dimensions, you can knock down the soft stuff and vacuum out the debris. The chimney is cleaner afterward. That part is real.
What it doesn’t do is just as real. A brush on a rod follows the path you feed it. It doesn’t confirm the liner is intact. It doesn’t reach the smoke shelf properly on many fireplaces. It doesn’t remove glaze-stage creosote, which bonds to the liner like hardened resin and needs rotary whips or chemical agents to break down. It doesn’t tell you whether the crown is cracked, whether the flashing has separated, or whether a clay tile has spalled somewhere above the damper you can’t see.
In our experience, homeowners who brush their own flues often do a competent job on the reachable surfaces and then assume the whole system has been serviced. That assumption is where trouble starts. The chimney sweep a professional performs includes the cleaning plus a documented look at the entire flue path – top to bottom, with a camera where needed.
If your flue is straight, accessible, and you’ve had an inspection within the past year confirming the liner is sound, brushing between professional visits is a reasonable maintenance step. If any of those conditions are missing, the brush is masking a question you haven’t answered yet.
The Three Types of Creosote and Which One You Can Handle
Creosote forms in stages, and the stage determines whether a brush will do anything. Understanding the three types is the single most useful thing a homeowner can learn before deciding to clean their own chimney.
- Stage 1 – Soot and flaky creosote. This is the light, dusty, brittle material that accumulates with regular burning. A stiff brush removes most of it. This is the only stage a DIY cleaning realistically handles.
- Stage 2 – Crusty, hardened creosote. This is a tar-like deposit that clings to the liner and doesn’t flake off under a brush. It forms when flue temperatures run cool – common with poorly seasoned wood or a chimney that isn’t drafting well. Removing it takes rotary equipment or a chemical sweeping compound.
- Stage 3 – Glazed creosote. This is the hardened, shiny, fuel-rich deposit that is the leading cause of chimney fires. It looks almost like black glass on the liner. No brush will touch it. It requires chemical treatment over time or, in severe cases, liner replacement.
Here’s the part that matters for the DIY decision: you can’t reliably tell what stage you’re looking at without a camera or a trained eye on the full flue. The firebox and lower flue might show light soot while stage 3 glaze sits higher up near the crown. A brush pushed from below won’t dislodge it and won’t tell you it’s there.
Burning seasoned wood, maintaining hot fires, and avoiding smoldering overnight burns all slow creosote formation. They don’t eliminate it. If your flue has gone more than a season without a proper inspection in Norfolk’s humidity – which keeps wood from seasoning as fast as it does in drier climates – there’s a fair chance you’re dealing with stage 2 or 3 deposits you can’t identify from the ground.
The Inspection Gap: What You Can’t See From the Firebox
An inspection is not a sweep with a flashlight added. It’s a structured look at components you physically cannot assess from inside the house or from the roofline with your feet on the ground. This is the core argument for professional service in Norfolk housing – not that you can’t clean, but that you can’t inspect what cleaning leaves behind.
Here’s what a trained technician checks that a homeowner typically cannot:
- Liner integrity. Hairline cracks in clay tiles, gaps at joints, and spalling are invisible from the firebox. A camera run down the flue shows them.
- The smoke chamber and shelf. This transition zone above the damper collects creosote and often has rough surfaces that can’t be brushed effectively from below. It’s a common fire origin point.
- The crown and flashing. Cracks in the crown let water in, which degrades the liner from the outside. Flashing separation shows up as staining on the chimney exterior or as a leak during rain.
- Offset flues. Many older Norfolk homes have flues that jog or angle to route around framing. A brush can follow the angle, but it can’t confirm what’s happening at the bend.
- The chimney exterior above the roofline. Spalling brick, failed mortar joints, and cap damage all affect how the chimney performs. You can see some of this from the ground with binoculars, but not the detail that determines whether water is entering the system.
We inspect before we recommend. That’s not a marketing line – it’s how the decision about repair gets made. A standalone inspection from Norfolk Chimney Cleaning gives you an objective assessment before anyone suggests liner work. If the inspection finds a sound flue, we say so. If it finds stage 3 creosote or a cracked tile, you see the evidence yourself before any work is discussed.
The Norfolk angle here is specific. Homes built before the widespread adoption of factory-built liners often have clay tile flues of varying condition. Some are fine. Some have been through decades of heating cycles and are one crack away from letting heat reach framing. That’s not a reason to panic. It’s a reason to inspect before assuming brushing is enough.
Why Norfolk Housing Stock Complicates DIY
Norfolk has a lot of older homes, and older homes come with chimney systems that were built before modern liner standards existed. This changes the DIY calculus in ways a generic chimney guide won’t mention.
Multi-story homes and offset flues. Two- and three-story houses in neighborhoods like Ghent, Larchmont, and the older sections of Colonial Place often have flues that route around structural elements rather than running straight from firebox to crown. Feeding a brush up a straight chase is one thing. Following an offset flue from the firebox with no camera to see the turn is another. A brush can catch at the offset, bend, or leave deposits on the inside of the turn where you can’t see them.
Clay tile liners of unknown condition. Many of these homes still have their original clay tile liners. Clay is durable but brittle. It cracks under thermal stress, and a cracked tile opens a path for heat and carbon monoxide to reach framing or interior spaces. You cannot assess clay tile condition with a brush. You need a camera and a trained eye.
Humidity and wood seasoning. Norfolk’s humidity means firewood takes longer to season than it does in drier parts of the state. Wood that isn’t fully dry burns cooler and produces more creosote. That’s a general observation, but it’s a real one – and it’s why stage 2 and stage 3 deposits show up in Norfolk flues that might stay at stage 1 in a drier climate. If you’re burning wood that wasn’t split and stacked for at least a season, the deposits you’re producing are harder for a brush to remove.
Mixed fuel use. Homes that have converted from wood to gas inserts, or that run both, complicate the picture further. Gas inserts produce different byproducts, and the flue condition assessment changes accordingly. A homeowner who brushes assuming they’re cleaning a wood flue may be missing what a gas insert setup actually needs checked.
None of this makes DIY impossible. It makes DIY incomplete. The question is whether incomplete is acceptable for your system – and for systems in older Norfolk housing, it usually isn’t.
Insurance and Liability When You Clean It Yourself
If a chimney fire follows a self-performed cleaning with no documented professional inspection, the homeowner’s insurance position is weaker than if a professional had documented the flue’s condition. That’s the plain version, and it’s worth understanding before you decide to skip the inspection.
Here’s how the calculus works. Insurance policies generally cover fire damage, but insurers investigate cause. If a claim follows a chimney fire and there’s no record of professional inspection or sweeping, the insurer may treat the loss as a maintenance failure – which can reduce or complicate the claim. Some policies have language that excludes damage from lack of maintenance. The exact terms vary by policy, so it’s worth reading yours.
A professional sweep leaves a record. An inspection leaves a documented assessment of liner condition, crown condition, and creosote level. If a problem was found and you were told about it, and you chose not to act, that’s a different situation than a problem that was never identified. But the documented inspection is the baseline that makes the difference.
There’s also the liability question if you sell. A home inspector will note chimney condition, and a buyer’s inspector may flag “no documentation of recent chimney service.” A professional inspection report answers that question cleanly.
The liability piece isn’t a scare tactic. It’s a practical reason why the inspection is often the more valuable half of a professional visit. A sweep cleans. An inspection documents. The documentation is what protects you.
The Legitimate Hybrid Approach
You don’t have to choose between all-DIY and all-professional. There’s a middle path that works well for homeowners who want to stay involved and keep their chimney in good shape between professional visits. The trick is knowing which tasks belong where.
What you can legitimately do between professional visits
- Burn seasoned wood. Split, stacked, covered for at least a season before burning. This is the single biggest factor in how fast creosote builds up. It’s entirely in your control.
- Keep hot fires. Cool, smoldering fires produce more creosote. Burn efficiently rather than overnight-smolder. This is a habit, not a tool.
- Clear ash regularly. A buildup of ash in the firebox reduces airflow and affects burn quality. Empty the ash pan or firebox as needed during the burning season.
- Check the cap and the visible exterior. From the ground with binoculars, you can spot obvious cap damage, debris on the screen, or staining that suggests moisture. If something looks off, that’s a call, not a repair.
- Test your carbon monoxide detector. Every home with any fuel-burning appliance should have CO detectors on each level and outside sleeping areas. Test them on the schedule the unit specifies.
- Do a visual firebox check. Before the first fire of the season, look inside the firebox and up the damper for obvious debris, animal nests, or loose material. If you see anything that suggests a blockage, don’t burn until it’s assessed.
What should never be self-assessed
- Liner condition. You can’t see it without a camera. Don’t assume it’s fine because it was fine last year.
- Creosote stage above the firebox. If you can’t see it, you can’t classify it, and you can’t clean it if it’s stage 2 or 3.
- Crown and flashing condition. The visible signs are subtle to untrained eyes and the consequences are water damage you won’t notice until it has spread.
- Smoke chamber and shelf. A common fire origin point that requires a camera and specific tools to clean properly.
- Any repair work. Cracked tiles, liner gaps, and crown damage are not homeowner jobs. Do not attempt to fix these yourself.
The hybrid approach works when the professional inspection happens at the right interval and the homeowner handles the daily habits. In Norfolk, for homes with a wood-burning fireplace in regular use, an annual inspection and sweep before the burning season is the industry standard. If your burning is lighter – occasional fires on cold nights – the interval may be longer, but the inspection still matters because deposits and deterioration happen whether or not you’re actively burning.
For a deeper look at what that professional appointment involves, the repair side is covered in chimney repair – and liner restoration with HeatShield and DuraFlex systems is often the answer when inspection finds damage that doesn’t require a full rebuild.
What a Professional Sweep Actually Involves
A professional sweep is a sequence, not a single action. Understanding the steps helps you see what you’re paying for and why DIY brushing covers only part of it.
- Pre-inspection walkthrough. We look at the firebox, the damper, the smoke chamber, and the exterior of the chimney before any cleaning starts. This establishes what we’re working with and flags anything that shouldn’t be brushed until it’s assessed.
- Drop cloth and containment. The work area gets sealed so soot and dust don’t spread into the room. This is one of the practical gaps between a professional job and a DIY job – containment takes equipment and method.
- Camera inspection of the flue. A camera run down the flue shows liner condition, creosote distribution, and any gaps or cracks. This is what you cannot replicate with a brush and a flashlight from below.
- Mechanical sweeping. Rotary equipment and the appropriate brush for the flue type and creosote stage. Stage 2 and 3 deposits get the tools they need rather than the tools that happen to be in the kit.
- Smoke chamber and shelf cleaning. This zone above the damper needs specific access and tools. It’s a common fire origin point and routinely missed in DIY work.
- Post-sweep verification. A second look with the camera to confirm the flue is clear and to document condition for the record.
- Report and recommendation. You get a documented assessment of what was found. If repair is needed, we walk through it with you. If it isn’t, we tell you that plainly.
The brands we use matter here. DuraFlex and HeatShield liner systems are the same materials certified chimney professionals use nationwide, and we stock and install them when inspection finds damage that justifies restoration. Gelco and Copperfield components round out the parts that keep a flue working properly. These are industry-grade materials, not hardware-store substitutes – and they’re the reason a repair done by a chimney specialist lasts.
One more point about the professional side: a sweep-only provider can tell you there’s a problem but can’t fix it. We handle inspection, sweep, and repair under one company, so a problem found during the sweep gets addressed without a second contractor and a second scheduling delay. From first inspection to final repair, one specialist, one call.
Common Mistakes to Avoid
- Assuming a clean flue is a safe flue. A clean flue with a cracked liner is still a hazard. Cleaning removes deposits; it doesn’t evaluate the structure. In Norfolk’s older homes, the structural question is frequently the one that matters most.
- Using the wrong brush size. A brush that’s too small doesn’t contact the liner walls properly and leaves deposits behind. A brush that’s too large can damage clay tiles. The correct size depends on your flue dimensions, which is why a professional measures rather than guesses.
- Cleaning without checking the cap and crown first. Pushing a brush up a flue that has water damage or a failing crown can bring debris down on top of the blockage. The exterior check informs whether the sweep should proceed.
- Skipping the smoke chamber. This is the most common DIY oversight. The smoke chamber sits above the damper and collects creosote on rough surfaces. A brush fed from below doesn’t clean it properly, and it’s a common fire origin point.
- Burning unseasoned wood to “save money.” In Norfolk’s humidity, “seasoned” needs to mean at least a full year of split and stacked drying. Wood that isn’t ready burns cool and produces the deposits you’ll have trouble removing later.
- Ignoring a change in draft or smell. A fireplace that smokes more than it used to, or that has a strong creosote smell, is telling you something. Those are inspection triggers, not wait-and-see signals.
- Doing repair work yourself after a DIY sweep. If you find a cracked tile or a liner gap, the correct move is to stop and call a professional. Liner and structural repairs are not DIY territory, and a bad repair is worse than a deferred one.
When to Call a Professional
Some situations call for a professional sweep and inspection without debate. If your flue runs more than one story or has a visible offset, DIY cleaning can’t reliably reach the full run. If you’ve moved into a home and don’t have a documented inspection record, the first season should start with one. If you burn wood regularly during the colder months, an annual sweep before the season begins is the standard. If you’ve noticed smoke backing into the room, a creosote smell, or staining on the chimney exterior, those are all signals to get eyes on the system.
Any time you’re considering liner work, structural repair, or anything involving the crown, flashing, or clay tiles, that’s professional work. Liner restoration with HeatShield and DuraFlex is available when inspection finds damage that can be repaired rather than requiring demolition, and having that option in the same company that did the inspection saves time and avoids a handoff.
The larger point: the inspection is what tells you whether your chimney is safe to use. That’s not a question a brush can answer. Norfolk Chimney Cleaning offers free estimates in Norfolk – call (844) 496-0079 for a written estimate and a clear look at what your flue actually needs.
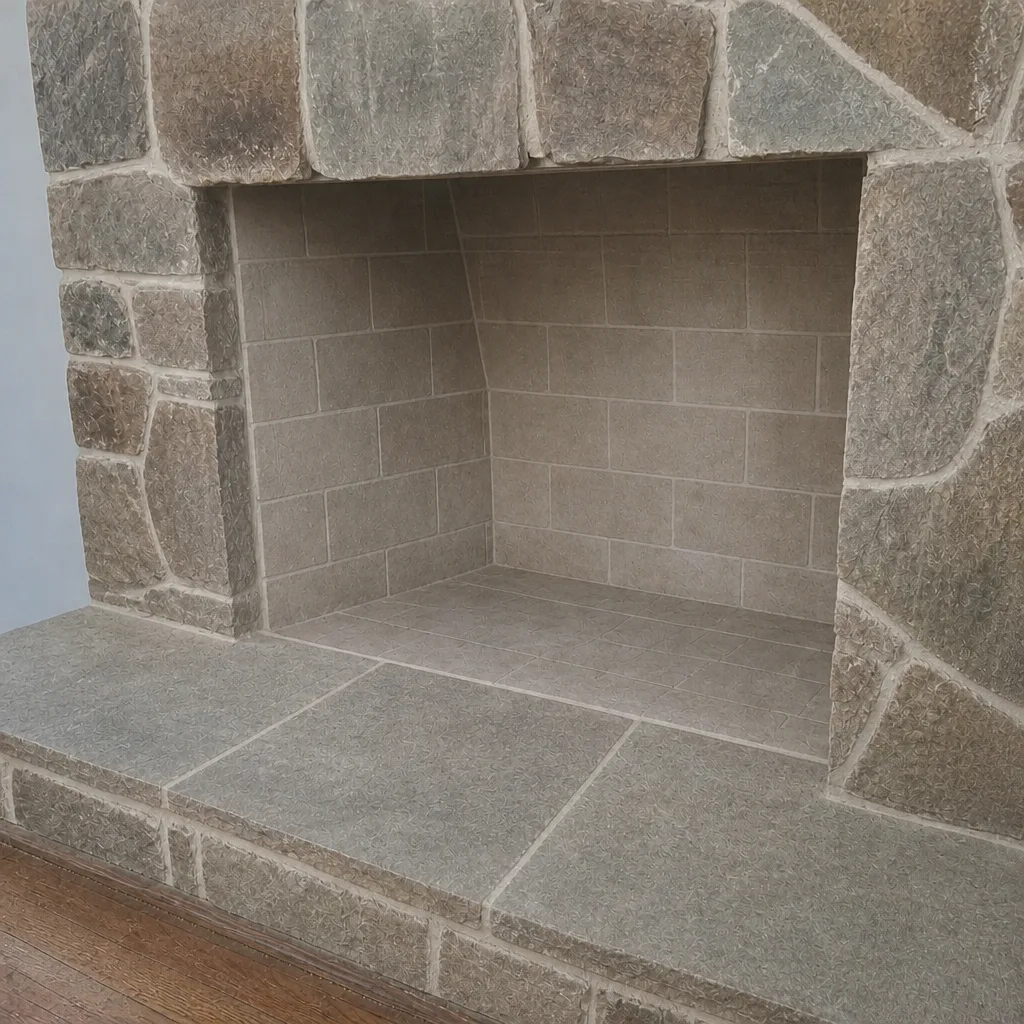
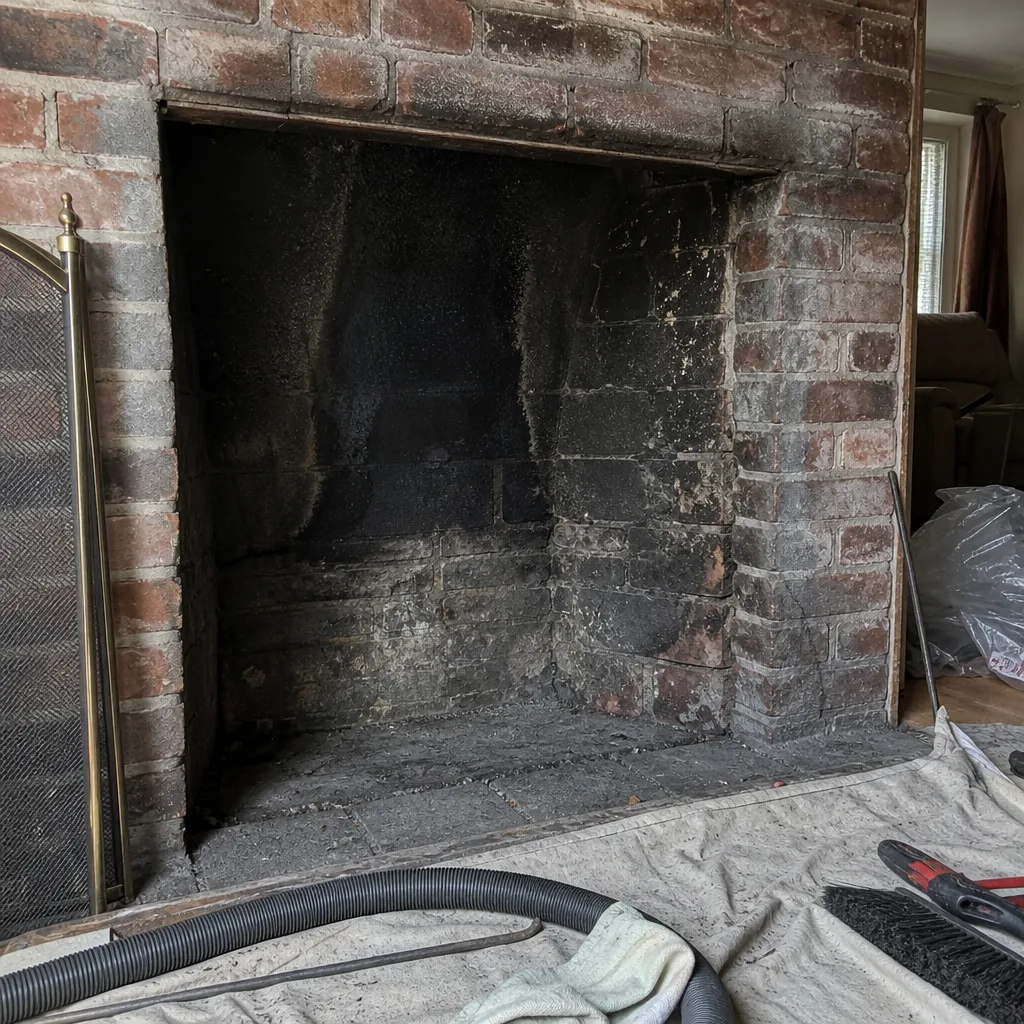
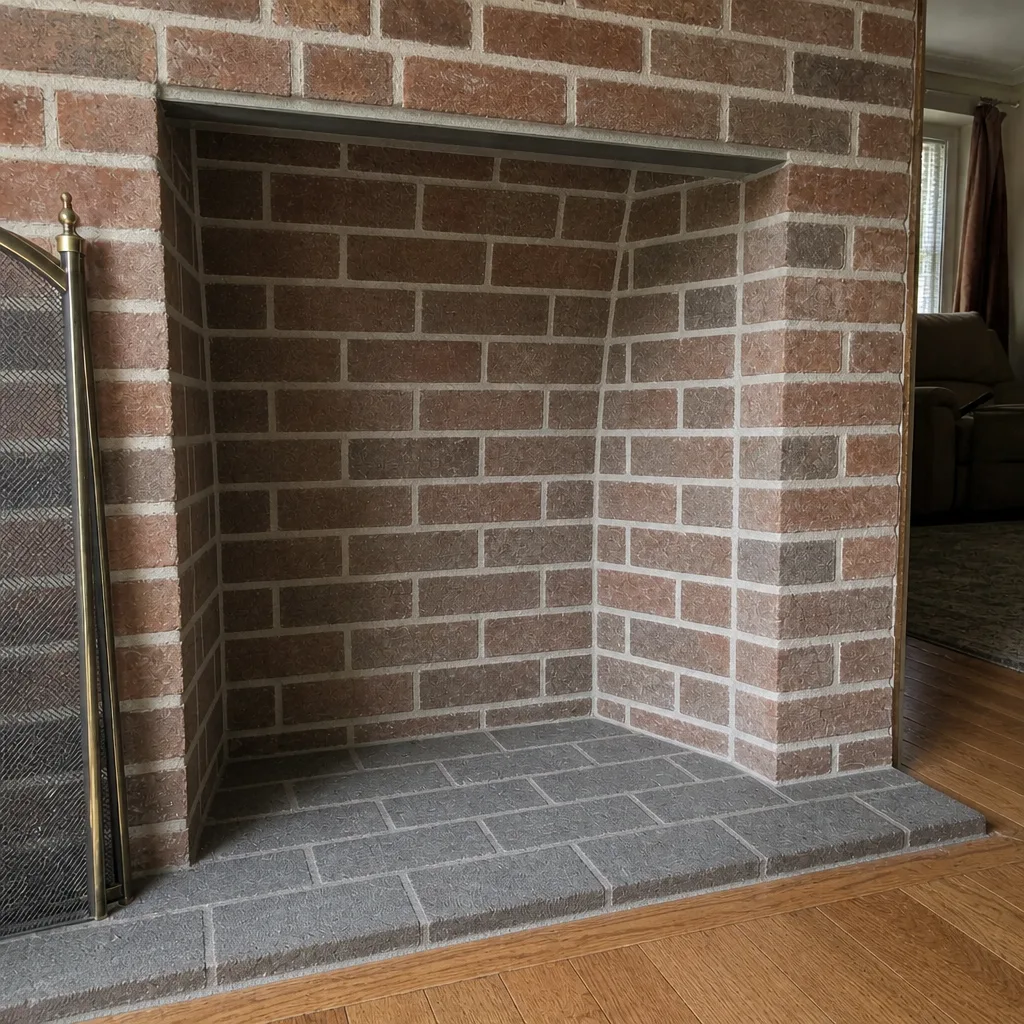
See the difference
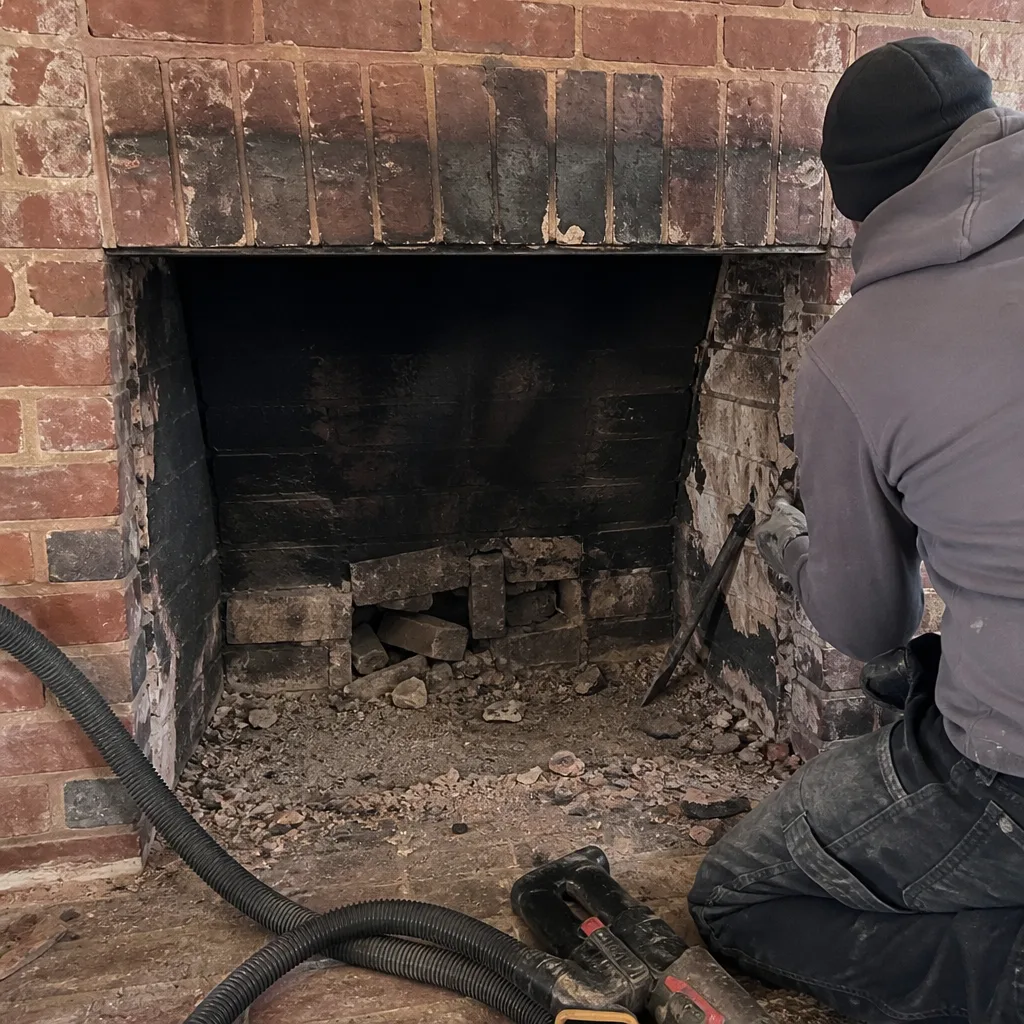 Before
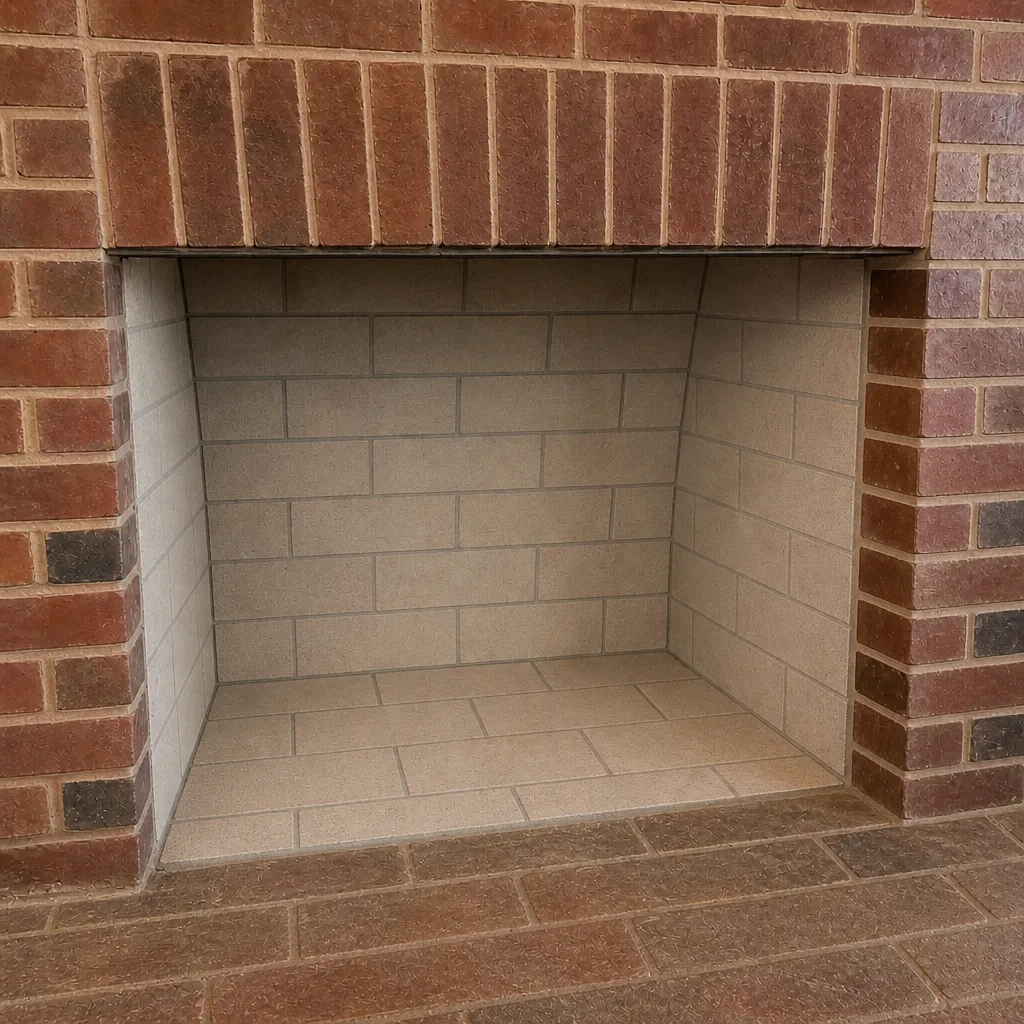 After
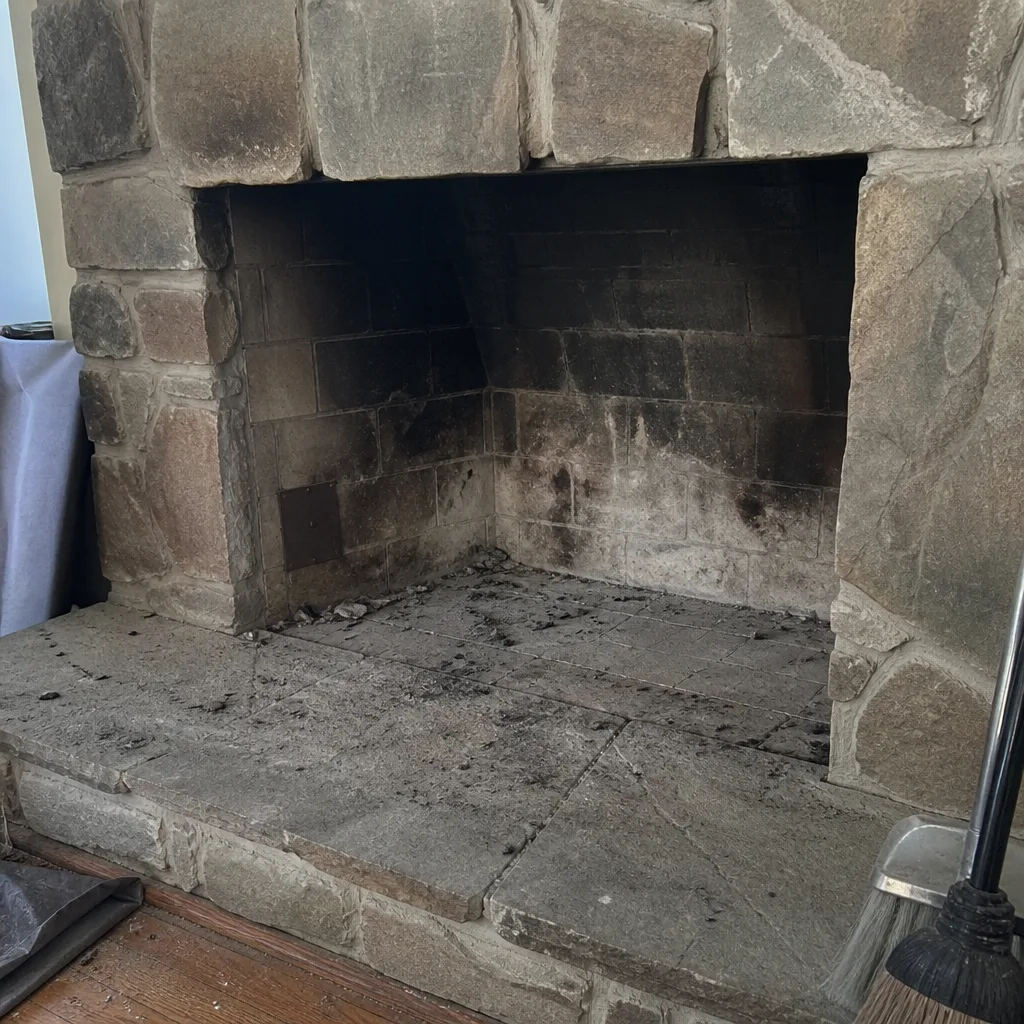 Before
 After
 Before
 After
Frequently Asked Questions
Yes, you can remove loose soot and stage 1 flaky creosote from an accessible, straight flue with a brush kit. What you can’t do with a brush alone is assess liner condition, clean the smoke chamber properly, detect stage 2 or stage 3 creosote higher in the flue, or confirm that cracks and gaps in the liner aren’t present. The question isn’t whether a brush works – it does, within its limits. It’s whether brushing alone is enough for your system, and for most Norfolk homes with older clay tile liners, it isn’t.
An annual inspection and sweep before the burning season is the standard for a wood-burning fireplace in regular use. If you burn less often, the interval may stretch, but the inspection should still happen because liner deterioration and creosote deposits build independently of how often you light a fire. Norfolk’s humidity also slows wood seasoning, which means creosote production runs higher than in drier climates. Call (844) 496-0079 if you’re not sure when your last service was – we can inspect and tell you what’s actually there.
A sweep cleans the flue; an inspection evaluates its condition. They’re related but not the same. A sweep removes deposits and leaves the flue cleaner. An inspection uses a camera and a trained eye to check liner integrity, crown condition, flashing, smoke chamber, and creosote stage – things you can’t see from the firebox. We offer inspections as a standalone service so you get an objective assessment before any repair is recommended. In Norfolk’s older housing, the inspection is frequently the more valuable half of the appointment.
Creosote builds up over time, and stage 3 glazed creosote is the leading cause of chimney fires. A neglected flue also accumulates enough deposit to reduce draft, which makes fires burn cooler and produces more creosote – a self-reinforcing cycle. Beyond fire risk, a blocked or deteriorated flue can let carbon monoxide back into the living space. These aren’t hypothetical hazards; they’re the reason the inspection and sweep interval exists. We answer 24/7 if you have a concern and want to talk it through before the season starts.
It depends on your policy, but a DIY cleaning with no documented professional inspection can complicate a claim because the insurer may treat the loss as a maintenance failure. A professional inspection leaves a record of flue condition at a point in time, which is the baseline that shows what was known and when. Read your policy’s maintenance language and ask your insurer directly. The documented inspection is the practical protection, and it’s why we recommend one at least annually in Norfolk. Call (844) 496-0079 to book an inspection and get that record in place.
A professional sweep includes a pre-inspection walkthrough, drop cloth and containment, camera inspection of the flue, mechanical sweeping with equipment matched to the creosote stage, smoke chamber and shelf cleaning, post-sweep verification, and a documented report. A DIY brush handles the mechanical removal of stage 1 deposits on reachable surfaces – the first and simplest part of that sequence. The rest is what makes the appointment worth scheduling. If you want the full picture of your flue, that’s what the professional visit delivers.
The Bottom Line
DIY chimney brushing is real work and it does real cleaning – but it’s one task inside a larger job. A brush removes what it can reach and tells you nothing about liner condition, creosote stage above the firebox, or the crown and flashing you can’t see. In Norfolk’s older housing, those unexamined components are frequently where the actual problem lives. The practical answer is a hybrid: burn seasoned wood, keep hot fires, check what you can see between visits, and book a professional inspection and sweep at the right interval so the parts you can’t assess get assessed by someone who can. If a repair turns up, a chimney specialist who handles inspection, sweep, and repair under one roof – with HeatShield and DuraFlex liner systems on hand – resolves it without a handoff. Call (844) 496-0079 for a free estimate. We answer 24/7, with fast dispatch from 7am to 7pm, Sunday through Friday.
Written by the team at Norfolk Chimney Cleaning.