
Last updated November 16, 2026
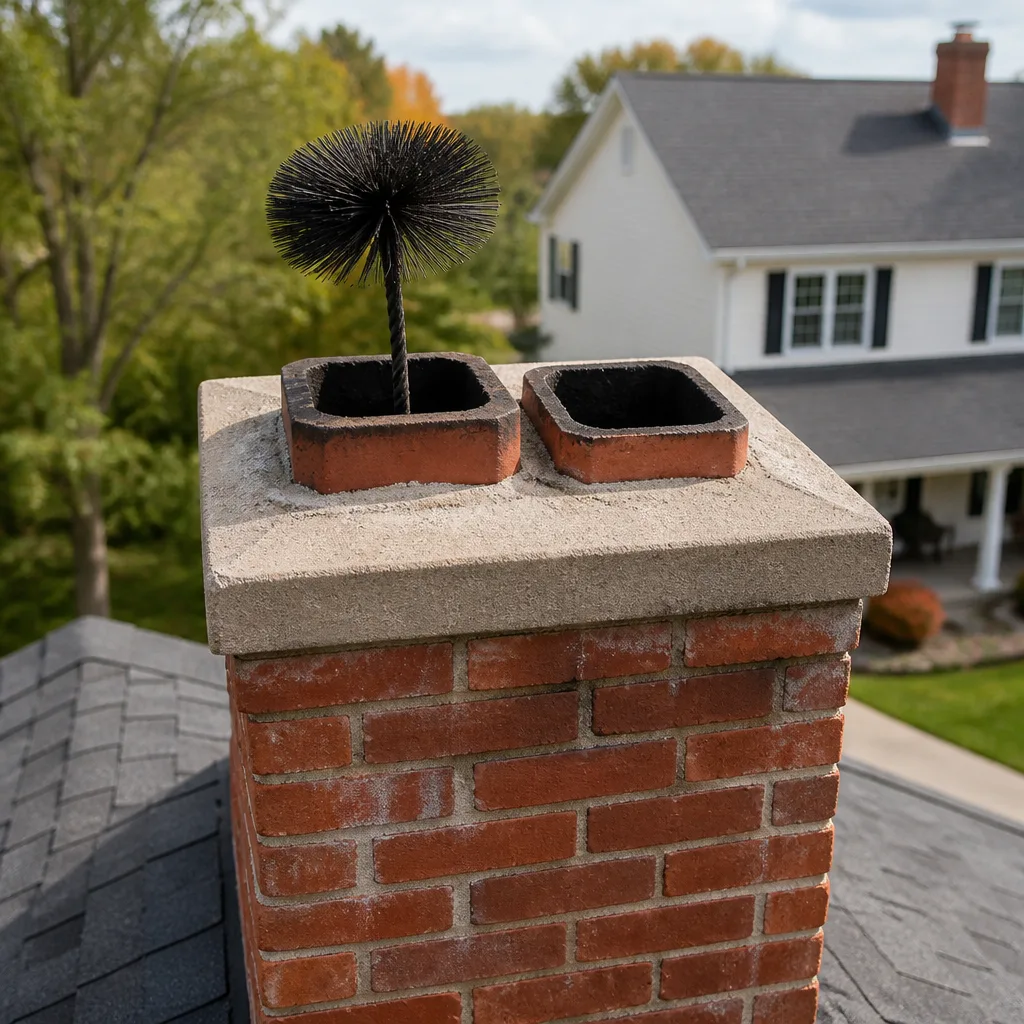 Sweep & inspection
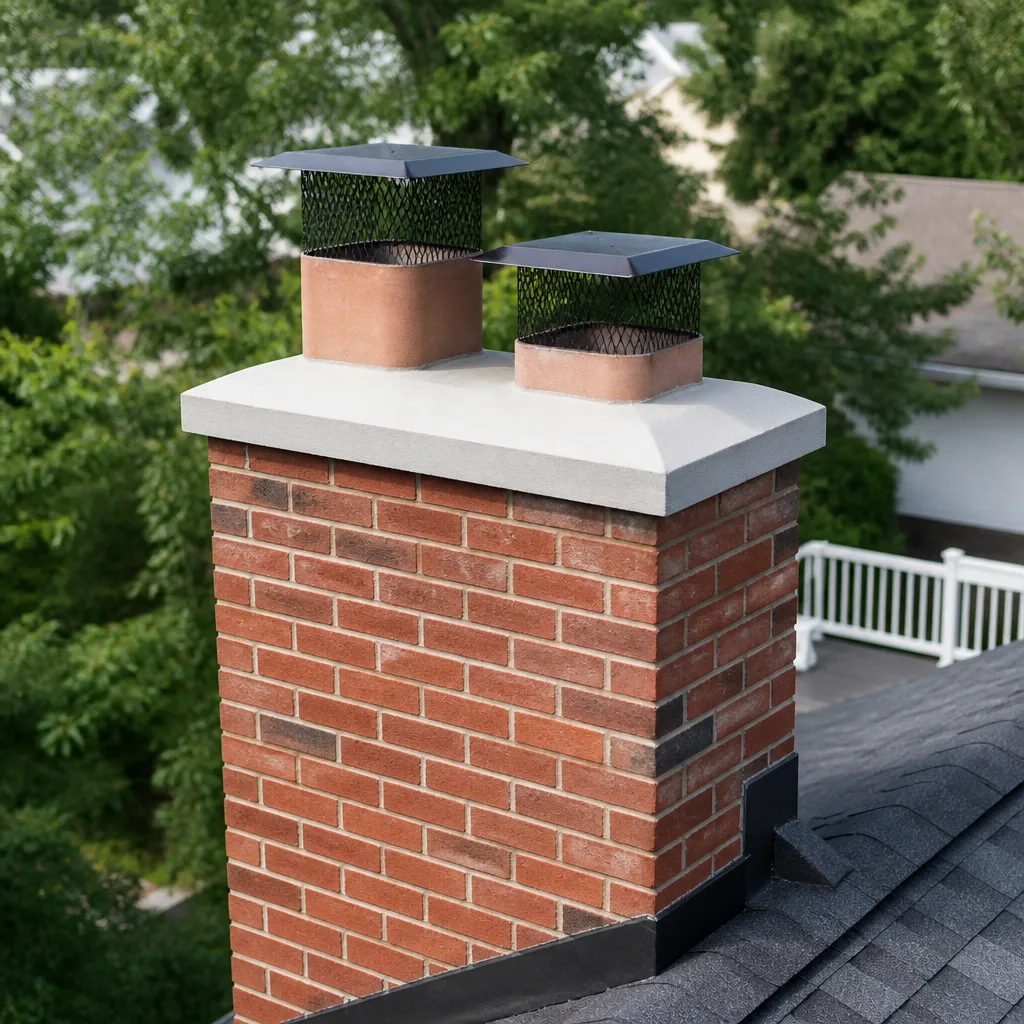 Caps & crowns
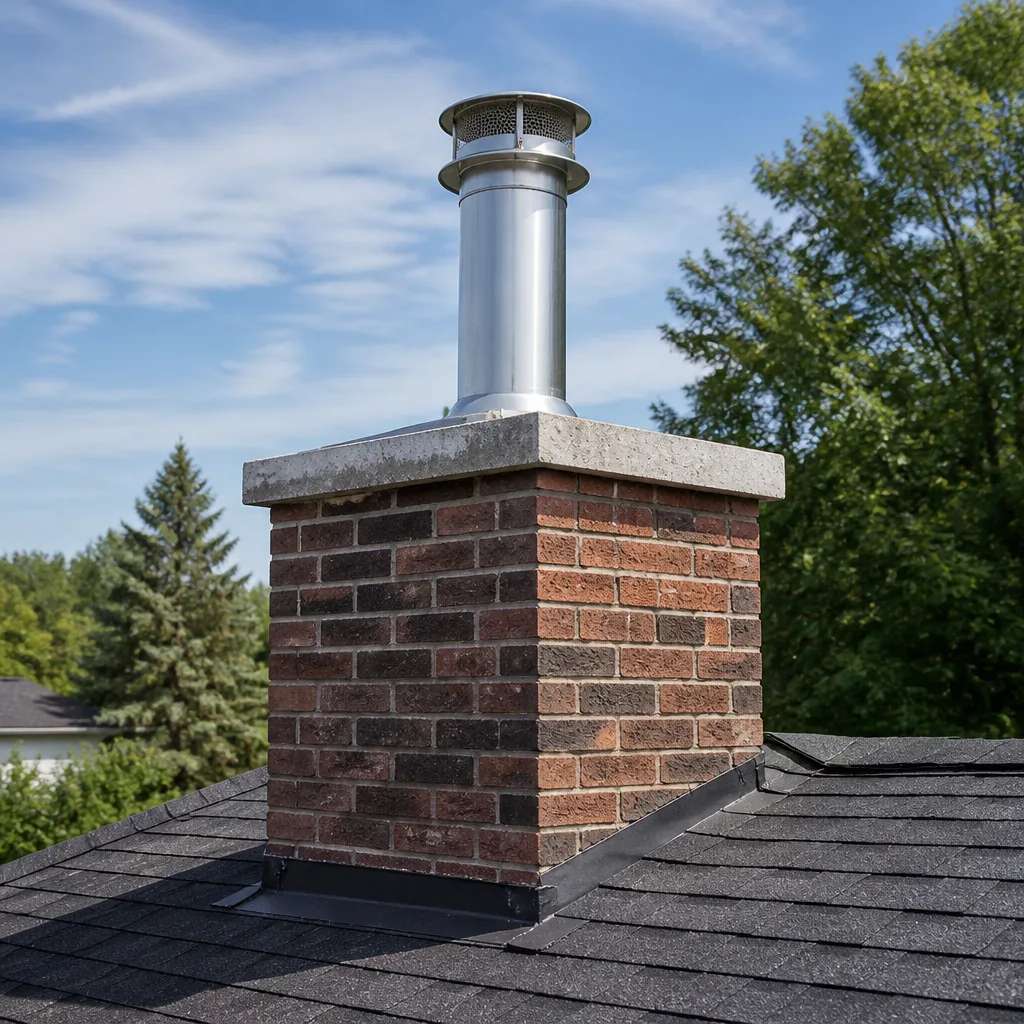 Flue relining
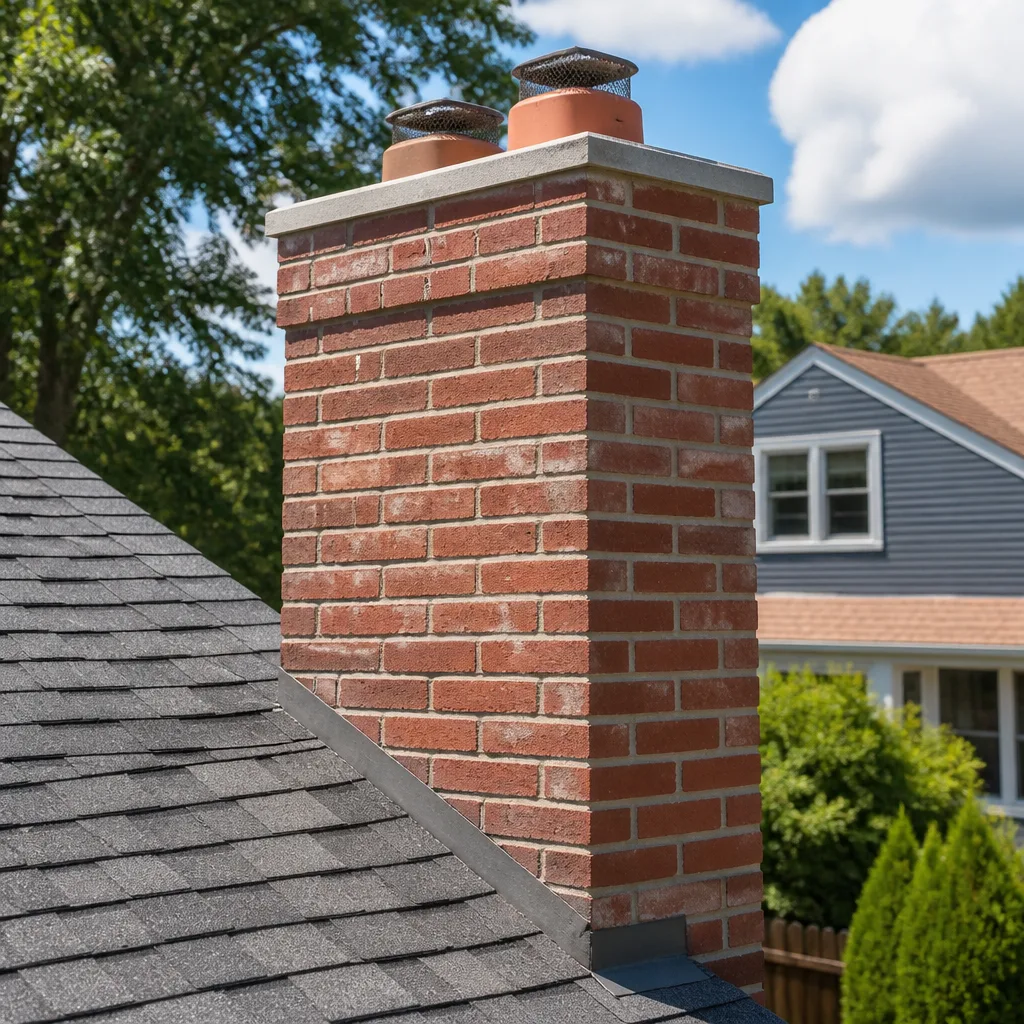 Masonry repair
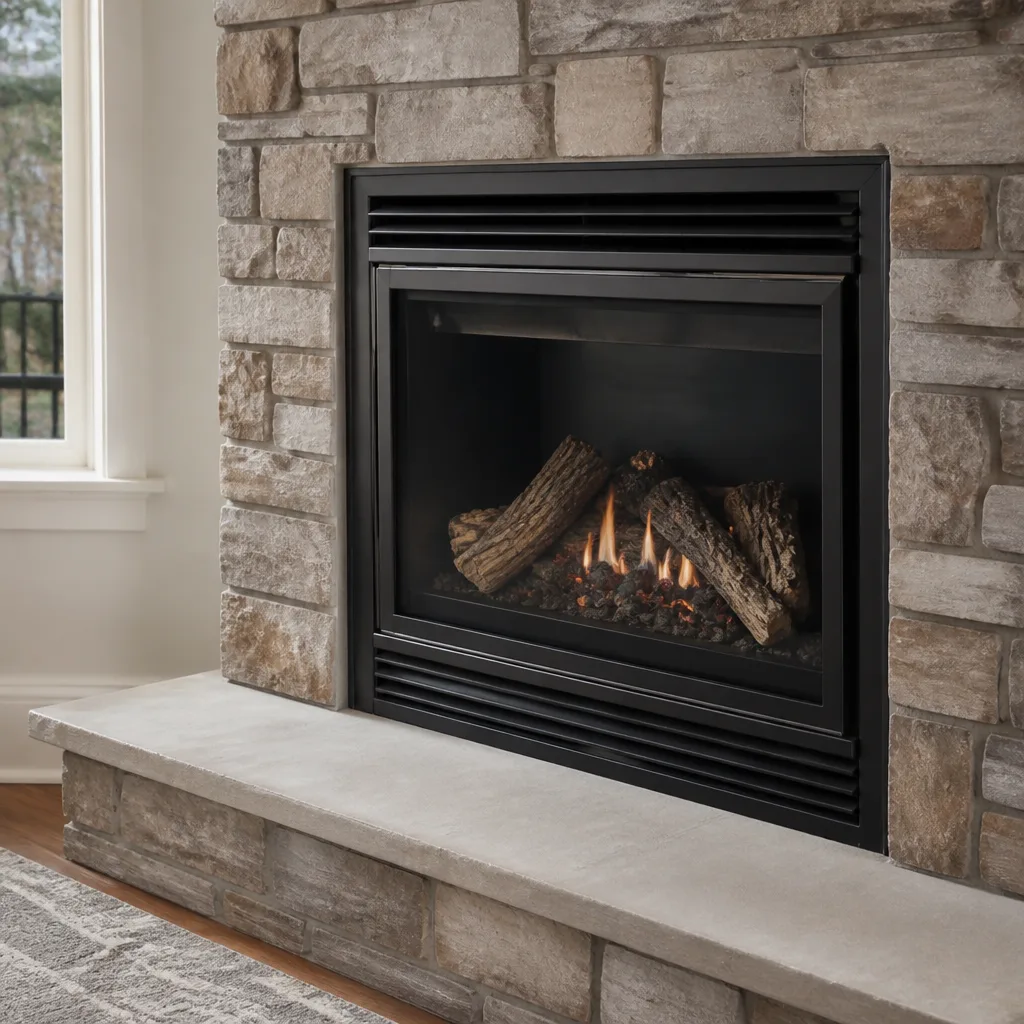 Gas fireplace service
Level 1 sweep and inspection to the NFPA 211 annual standard - flue, crown, cap, and flashing checked and photographed
Chimney sweep logs do not sweep chimneys. They loosen some creosote - which then falls where a brush and vacuum still have to collect it.
Chimney Inspection Maintenance Checklist for Norfolk Homeowners
The standard “annual inspection” advice assumes a generic house in a generic climate. Norfolk homes don’t get that. Between nor’easters that drive rain sideways into chimney crowns, humid summers that keep masonry damp for weeks at a time, and a lot of pre-war brick housing across neighborhoods like Ghent, Park Place, and Colonial Place, the wear pattern on a Norfolk chimney is different from what a national checklist assumes. That’s why we build this guide around what actually fails here, and in what order. You’ll get a season-by-season checklist, a clear split between what you can safely check yourself and what needs a specialist on the roof, plus a simple system for tracking your chimney’s condition year over year before a small defect turns into a structural repair.
Quick Answer
A Norfolk chimney should get a professional inspection once a year if you burn regularly, plus a specific post-storm check after any nor’easter or high-wind event that drove rain against the roof. Homeowners can safely check the firebox, damper operation, and the cap and crown from the ground with binoculars. Anything that requires getting on the roof, opening the flue, or assessing the liner requires a specialist. Our technicians have up to 15 years of experience reading exactly these failure patterns in Norfolk housing stock.
Styles & brands we work with
- Sweep & inspection
- Caps & crowns
- Flue relining
- Masonry repair
- Gas fireplace service
Table of Contents
- Why a Norfolk Chimney Ages Differently
- What You Can Safely Check Yourself
- What Only a Specialist Should Assess
- The Post-Storm Inspection Trigger
- Exterior Checklist: Crown, Flashing, and Masonry
- Interior Checklist: Firebox, Damper, and Flue
- How to Document Your Chimney Year Over Year
- Seasonal Timing for Norfolk
Why a Norfolk Chimney Ages Differently
Most chimney guidance you’ll find online was written for a house in a dry climate with a roof that stays dry between rain events. Norfolk isn’t that. The mid-Atlantic pattern here is long humid stretches broken by intense storm systems, and that combination is hard on a masonry chimney in three specific ways.
The first is moisture cycling. Brick and mortar absorb water during a storm, then release it slowly over the following days. Every wet-dry cycle puts a small amount of stress on the mortar joints. In Norfolk’s older brick housing stock, much of the original mortar is lime-based rather than the harder Portland cement mixes used in newer construction. Lime mortar is more flexible and, in many ways, a better match for old soft brick, but it also erodes faster under repeated wet-dry cycling. That means the mortar joints on a 1920s chimney in Ghent will typically show wear sooner than the joints on a 1990s chimney in a newer subdivision, even if both have seen the same weather.
The second is wind-driven rain. A nor’easter doesn’t just drop rain vertically. It pushes it horizontally against the chimney, which means water gets into places a calm rain never reaches: the top of the crown where it meets the flue tile, the seams of a metal cap, and the flashing where the chimney penetrates the roof. Over time, that horizontal moisture finds its way into the chimney’s interior structure and, if the flashing has failed, into the attic.
The third is temperature swing. A Norfolk winter isn’t Boston, but it’s cold enough to freeze, and freeze-thaw cycles are the single most destructive force on masonry. Water gets into a hairline crack in the crown, freezes overnight, expands, and widens the crack. Repeat that a few dozen times over a winter and a cosmetic crack becomes a structural one.
None of this means a Norfolk chimney is doomed. It means the checklist you use has to be tuned to these specific failure modes, not a generic national one.
What You Can Safely Check Yourself
The single biggest mistake homeowners make is either doing nothing at all or, at the opposite extreme, climbing onto the roof with a flashlight. The truth is that a meaningful portion of a chimney inspection can be done safely from the ground and from inside the house, and doing it regularly makes the professional inspection far more productive.
Here’s what’s safe to check yourself:
- Look at the chimney from the ground with binoculars. From the yard, you can see the crown (the concrete top), the cap (the metal or mesh cover over the flue), the flashing where the chimney meets the roof, and the vertical mortar joints. Look for obvious cracks, missing pieces of mortar, rust streaks, or a cap that’s leaning or missing.
- Open the damper and look up. With a bright flashlight, look up the flue from the firebox. You won’t be able to see the whole flue, but you can spot heavy creosote buildup, obvious obstructions like a bird nest or leaves, and damage to the smoke chamber just above the damper.
- Examine the firebox. Look for cracked firebrick, deteriorated mortar between the bricks, and any gaps where heat could reach the surrounding structure.
- Test the damper. Open and close it fully. It should move smoothly and sit flush when closed. A damper that sticks, doesn’t close all the way, or won’t stay open is a problem worth flagging.
- Check for interior water stains after a storm. Look at the ceiling and walls near the chimney chase for discoloration. A water stain after heavy rain is a strong signal that flashing or crown has failed.
- Smell for smoke backup. If smoke rolls into the room when you light a fire on a calm day, that’s a draft problem worth investigating before you burn again.
What you should never do yourself: get on the roof, remove the cap, open the flue liner, or attempt to inspect the interior of the flue. Falls from a roof are the leading cause of serious injury in this trade, and the interior of the flue can’t be properly assessed without specialized camera equipment.
What Only a Specialist Should Assess
A professional inspection is not just a more thorough version of what you did from the ground. It involves equipment and access you don’t have, and it covers parts of the chimney system that are invisible from any safe vantage point a homeowner can reach. Anything on a roof, anything inside the flue, and anything structural needs a specialist.
The components that require a trained eye include:
- The flue liner. This is the single most important component in the system and the one most often neglected. A camera inspection is the only way to see the full length of the liner, spot gaps at the joints, and determine whether the liner is intact enough to safely vent a fire. A damaged liner is a direct carbon monoxide path into the home.
- The smoke chamber. This is the angled space between the damper and the bottom of the flue. It’s often the last place a homeowner thinks to look and one of the most common places for creosote to build up.
- The crown and cap. Up close, a specialist can see whether the crown has separated from the flue tile, whether the cap’s mesh has rusted through, and whether either is doing its job.
- Flashing. A roofing detail that a homeowner can’t assess from the ground. Failed flashing lets water into the roof deck and attic, and it’s a common source of hidden rot around a chimney.
- Structural masonry. Whether the chimney is leaning, whether the mortar joints have receded, and whether the whole assembly is still tied to the house safely.
The way we handle this is simple: we inspect first and recommend second. If we find an issue, we show you the camera footage or the photo, explain what it means, and tell you plainly whether it needs fixing now or can safely wait. That’s why we offer inspections as a standalone service. You get an objective assessment before any repair is on the table. From first inspection to final repair, it’s one specialist, one call. If your last inspection is more than a year old, book a chimney sweep and inspection together so both get done in one visit.
The Post-Storm Inspection Trigger
Annual inspection advice is a baseline, not a complete plan. In Norfolk, the single most common trigger for a chimney problem we see is a storm event that the homeowner didn’t think to follow up on. A nor’easter, a tropical system, or even a strong windstorm can cause damage that isn’t obvious from the ground and won’t show up until you light the next fire.
After a significant storm, run this quick sequence before you burn again:
- Walk the yard and look at the chimney with binoculars. Look for a missing or displaced cap, new cracks in the crown, or pieces of masonry on the roof or ground.
- Check the attic and ceiling near the chimney for water stains. This is the fastest way to detect flashing failure. If you see fresh staining, don’t light a fire until a specialist has looked at it.
- Open the firebox and look up. Look for debris that the storm may have blown down the flue, and look for signs of water inside the firebox.
- Check the damper. A storm can displace a damper that was already loose.
- Smell the firebox. A strong creosote smell or a sooty, damp smell inside the firebox after a storm can indicate water intrusion.
What warrants a professional call after a storm:
- Any visible damage to the crown, cap, or masonry
- Water staining inside the house or in the attic
- Any debris visible in the flue from the firebox
- A chimney that now leans, even slightly
- Smoke that backs up into the room on the first fire after the storm
If any of those are present, don’t use the fireplace until it’s been checked. A post-storm inspection is one of the highest-value calls a Norfolk homeowner can make, because storm damage often compounds on itself: a cracked crown lets in water, the water freezes and widens the crack, and what would have been a small repair becomes a masonry job. We can work with your insurer if a storm did real damage, and we’ll tell you honestly when a repair can wait until spring.
Exterior Checklist: Crown, Flashing, and Masonry
The exterior of your chimney takes the brunt of Norfolk weather, and it’s the part of the system most homeowners under-inspect because it requires getting on the roof to see properly. Here’s what a specialist is looking at from up there, and what you should be watching for from the ground between visits.
The Crown
The crown is the concrete cap at the very top of the chimney, sloped to shed water away from the flue. A healthy crown has a visible slope, no cracks wider than a hairline, and a tight joint where it meets the flue tile. On Norfolk chimneys, crown cracks are extremely common because of freeze-thaw cycling. A cracked crown lets water into the masonry body of the chimney, which is where the most expensive damage starts. If you can see a crack in the crown from the ground with binoculars, it’s worth a professional look.
The Cap
The chimney cap covers the flue opening and keeps out rain, animals, and debris. A quality stainless cap will typically outlast a galvanized one by a wide margin in a wet climate like Norfolk’s, where humidity is high for much of the year. If your cap is rusting through, the mesh is torn, or the whole cap is loose or missing, that’s a priority fix. A missing cap means water and wildlife can get into the flue directly.
Flashing
Flashing is the metal that seals the joint between the chimney and the roof. It’s a roofing detail, but on a chimney inspection it’s often where the most consequential problems hide, because when flashing fails, water enters the roof deck and attic without ever touching the visible part of the chimney. On Norfolk’s older brick houses, flashing is frequently original and frequently at the end of its life. The tell is staining on the underside of the roof deck or the ceiling near the chimney after heavy rain.
Masonry and Mortar Joints
Look for receding mortar joints, spalling brick (faces flaking off), and any lean in the chimney. On Norfolk’s older housing stock, much of this masonry was built with lime-based mortar, which is more sensitive to repeated wet-dry and freeze-thaw cycles than modern mixes. A chimney with receding joints isn’t automatically a rebuild. Liner systems like HeatShield and DuraFlex are designed to restore function to a flue without full demolition, and a masonry repair is often the right answer before it ever gets to that point. If you’ve spotted failing joints, a chimney repair assessment is the honest next step.
Interior Checklist: Firebox, Damper, and Flue
The interior of the chimney is where the fire and carbon monoxide risk lives. Everything in this section should be inspected by a specialist every year you burn, and some items should be checked by you between visits.
The Firebox
The firebox is the brick-lined chamber where the fire sits. Look for cracked firebrick, gaps between the bricks, and deteriorated mortar. Cracked firebrick lets heat reach the structure behind it, which is a fire risk. On older Norfolk masonry fireplaces, firebox cracks are common simply because the original materials have been through a century or more of thermal cycling.
The Damper
A working damper seals the flue when the fireplace isn’t in use, which keeps heated air from escaping up the chimney in winter and keeps cool air from escaping in summer. A damper that won’t close, won’t open fully, or sticks is worth repairing. A damper that’s stuck open is wasting energy year-round.
The Smoke Chamber
The smoke chamber is the sloped space above the damper. Creosote accumulates here, and on older chimneys the smoke chamber is often rough-lined and accumulates more than a modern one. This is one of the most common places a chimney fire starts.
The Flue Liner
The flue liner is the most important component in the entire system. It’s the pipe that carries smoke, gases, and carbon monoxide from the fire up and out of the house. A damaged liner is a direct path for carbon monoxide into the living space. A camera inspection is the only way to know whether the liner is intact. If it isn’t, a liner restoration with a HeatShield or DuraFlex system can restore the flue without tearing the chimney down. Repair, don’t replace, is often the right call.
The Firebox-to-Flue Transition
The transition from the top of the firebox into the flue needs to be gas-tight. Any gap there is a place where smoke and carbon monoxide can leak into the house rather than going up the flue. This is a specialist-only check.
How to Document Your Chimney Year Over Year
Chimney damage is gradual. A hairline crack becomes a structural one over three or four winters, not overnight. The homeowners who catch problems early are almost always the ones who can show a specialist what the chimney looked like a year ago. A simple documentation routine costs about fifteen minutes a year and turns every future inspection into a comparison instead of a fresh guess.
Here’s the routine we recommend:
- Photograph the chimney from the same spot in the yard every year. Pick a fixed vantage point and shoot from the same angle, in the same season, at the same time of day. Take a wide shot of the whole chimney and a zoomed shot of the crown, cap, and flashing area.
- Note the date and the weather since the last photo. A one-line note in a phone app or a paper notebook: “October, dry summer, one nor’easter in September.” That context makes the photos far more useful.
- Photograph the firebox from the same angle each year. Direct light on the firebox walls shows whether mortar joints are receding or cracks are growing.
- Keep a written log of every service visit. Date, what was inspected, what was found, and what was recommended. You don’t need to know what every item means. You just need the record.
- Take a photo after every major storm. Even a quick phone shot from the ground is useful if a repair question comes up later.
- Compare this year’s photos to last year’s side by side. This is where the routine earns its keep. A crack that’s visibly wider than last year’s photo is a much stronger signal than a crack without a history.
When a specialist visits, share the log. It changes the conversation. Instead of “we see a crack in the crown,” you get “the crack in the crown has grown since last October, and the flashing area is unchanged.” That’s the kind of information that lets a repair recommendation be made on evidence rather than on guesswork. Professional-grade materials are one half of a durable repair; the other half is catching the problem at the right moment, and documentation is how you do that.
Seasonal Timing for Norfolk
In a climate with real seasons, the timing of a chimney inspection matters as much as the contents. Here’s how a Norfolk year breaks down.
- Early fall (before the first fire): The main inspection window. Do the sweep and annual inspection together, so the chimney is clean and confirmed before you light up. This is the busiest time of year, and the reason we recommend booking it as early as possible.
- Late winter: A good second look after a season of burning. Winter is when freeze-thaw damage is most active, and a late-winter check catches crown cracks and mortar issues before they get a summer of rain to make them worse.
- After any nor’easter or tropical system: The post-storm walkaround described above. This is a quick visual from the ground plus a look in the firebox, not a full inspection unless something shows up.
- Summer: A good window for repairs. If an inspection finds a crown crack or flashing issue, fixing it in summer gives the repair a full dry season to cure and settle before the next freeze-thaw cycle. It’s also easier to schedule non-urgent repair work outside the fall rush.
The checklist itself should be run three times a year: once at the fall inspection, once in late winter, and once after any significant storm. That’s more than the standard “annual” advice, and in a Norfolk climate, that’s the point. Annual is the floor, not the ceiling.
Common Mistakes to Avoid
- Treating the annual inspection as a full checklist. Annual inspection is a baseline. In Norfolk, the storm cycle and freeze-thaw pattern mean the chimney should be checked after any high-wind event, not just once a year.
- Skipping the flashing because the chimney looks fine from the ground. Flashing failure shows up as a ceiling stain, not a chimney crack. If you have a water stain near the chimney after heavy rain, that’s a priority.
- Assuming a galvanized cap will last as long as stainless. In Norfolk’s humid climate, a galvanized cap can rust through well before a stainless cap of the same design. When replacing a cap, stainless is the longer answer.
- Burning with a cracked firebrick. A cracked firebox brick is a fire hazard, not a cosmetic issue. Don’t patch it and burn. Get it looked at.
- Sweeping without inspecting, or inspecting without sweeping. A sweep without an inspection cleans the flue but doesn’t tell you whether the liner is intact. An inspection without a sweep looks at a dirty flue. Have both done together.
- Assuming creosote smells are normal. A strong creosote smell in the firebox, especially when the fireplace isn’t in use, puts the chimney on the list to sweep sooner rather than later.
- Relying on a general contractor for chimney work. Chimney work has its own failure patterns, materials, and code requirements. A generalist who does chimney work on the side isn’t the same as a dedicated specialist, and the failure modes here don’t tolerate guesswork.
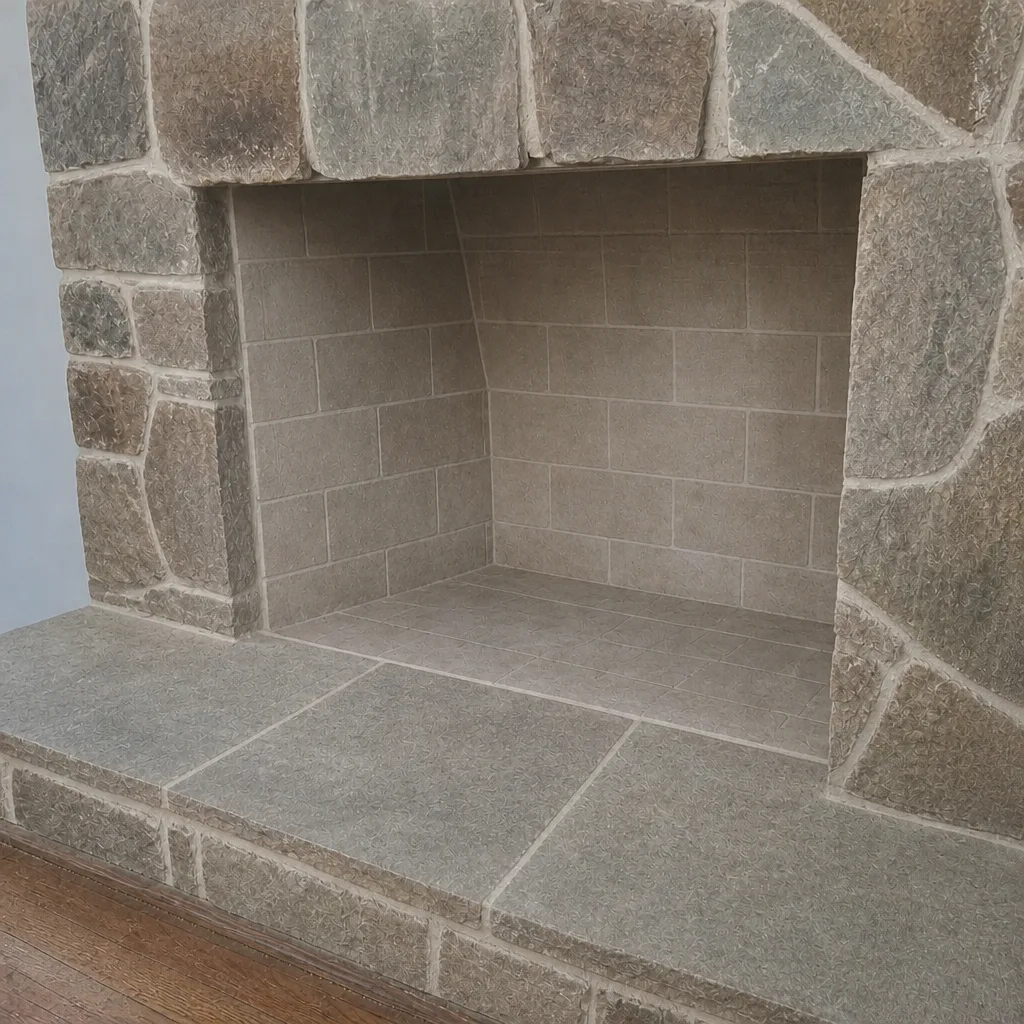
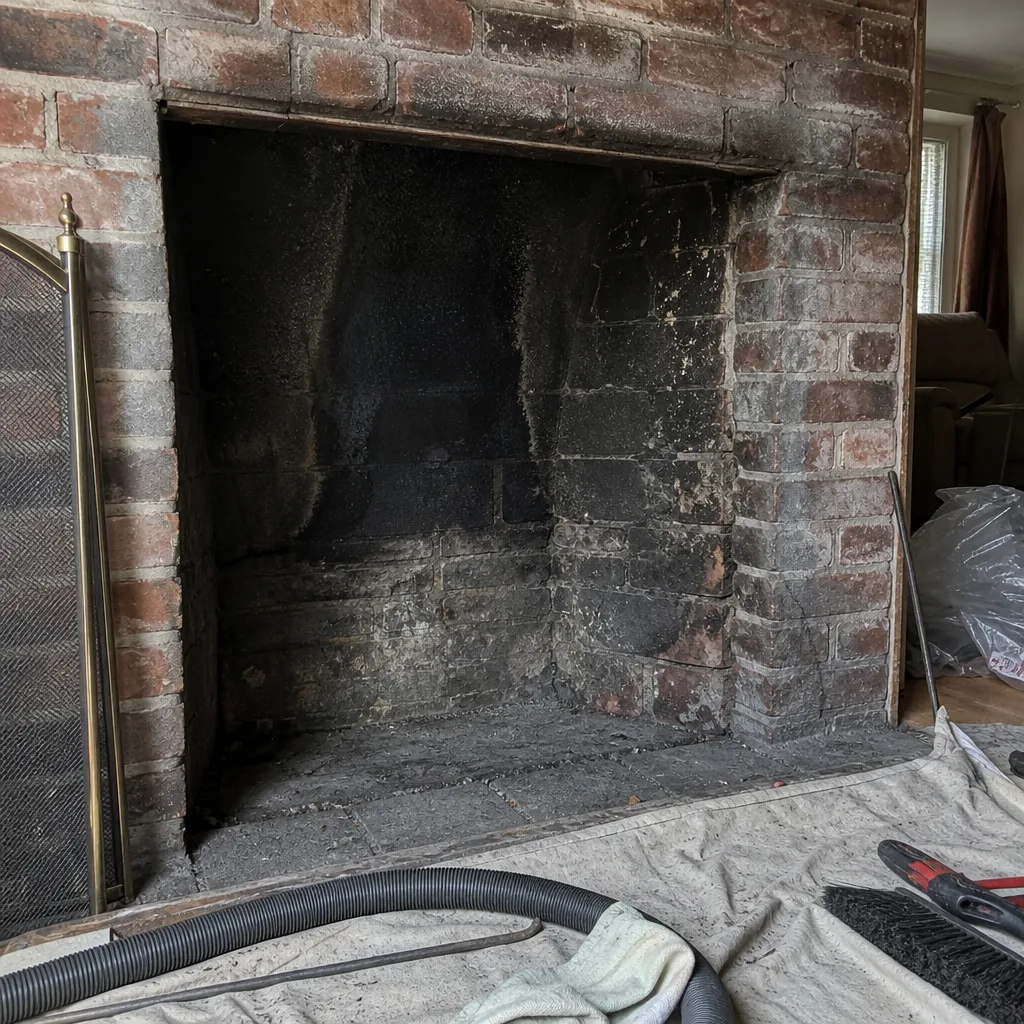
See the difference
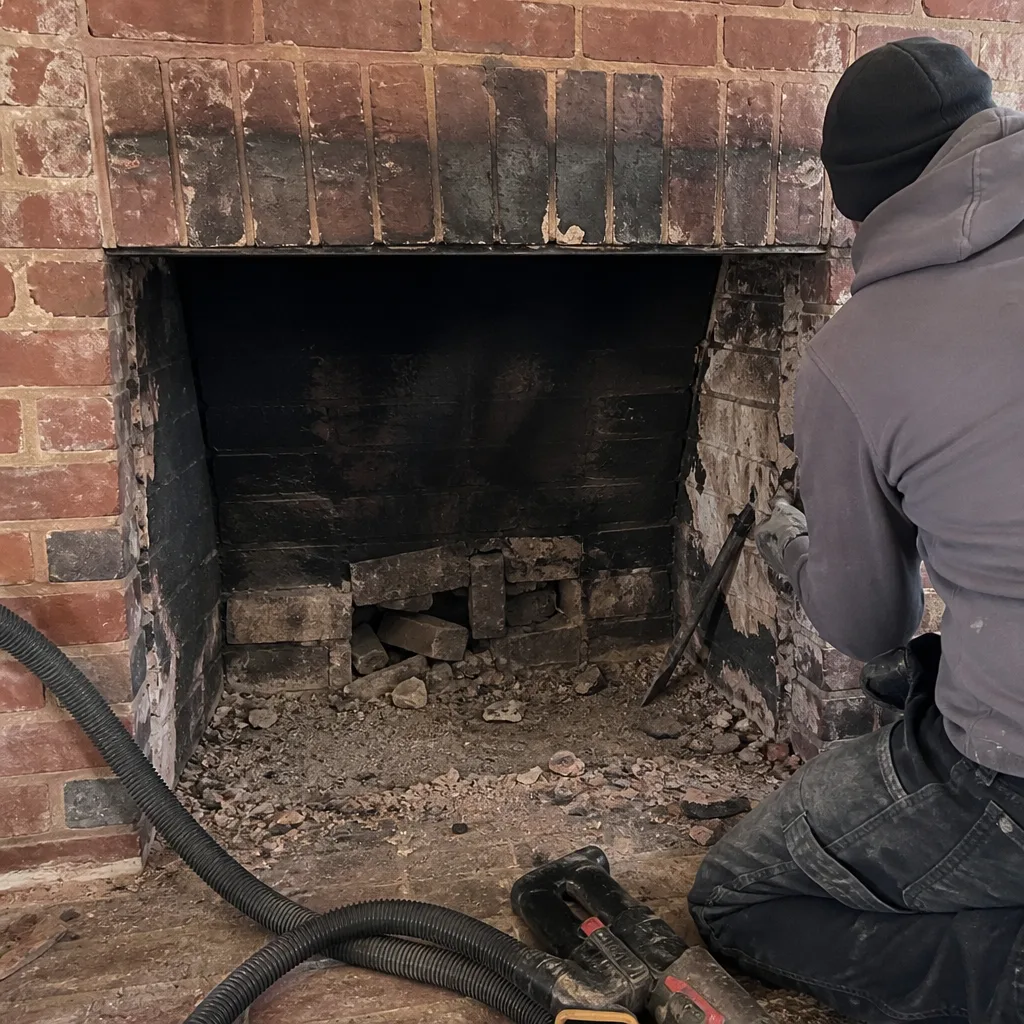 Before
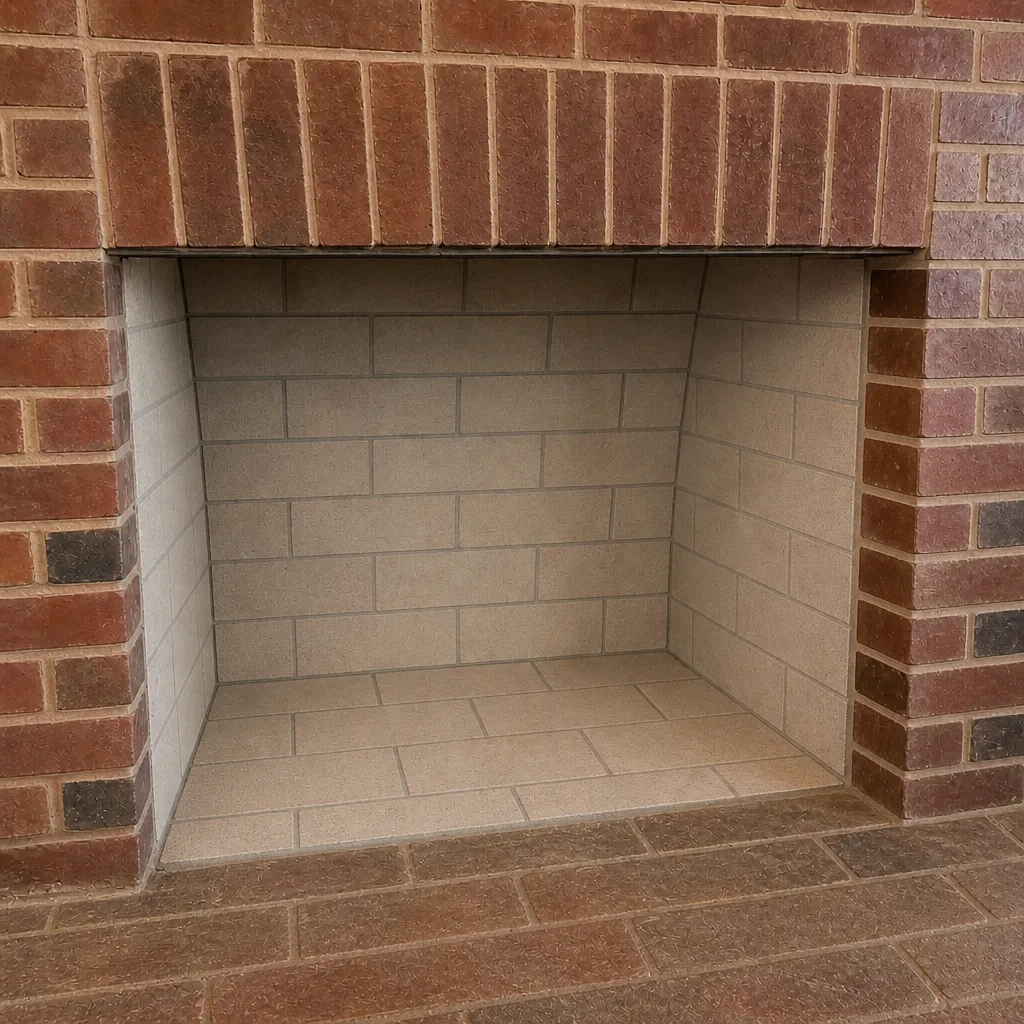 After
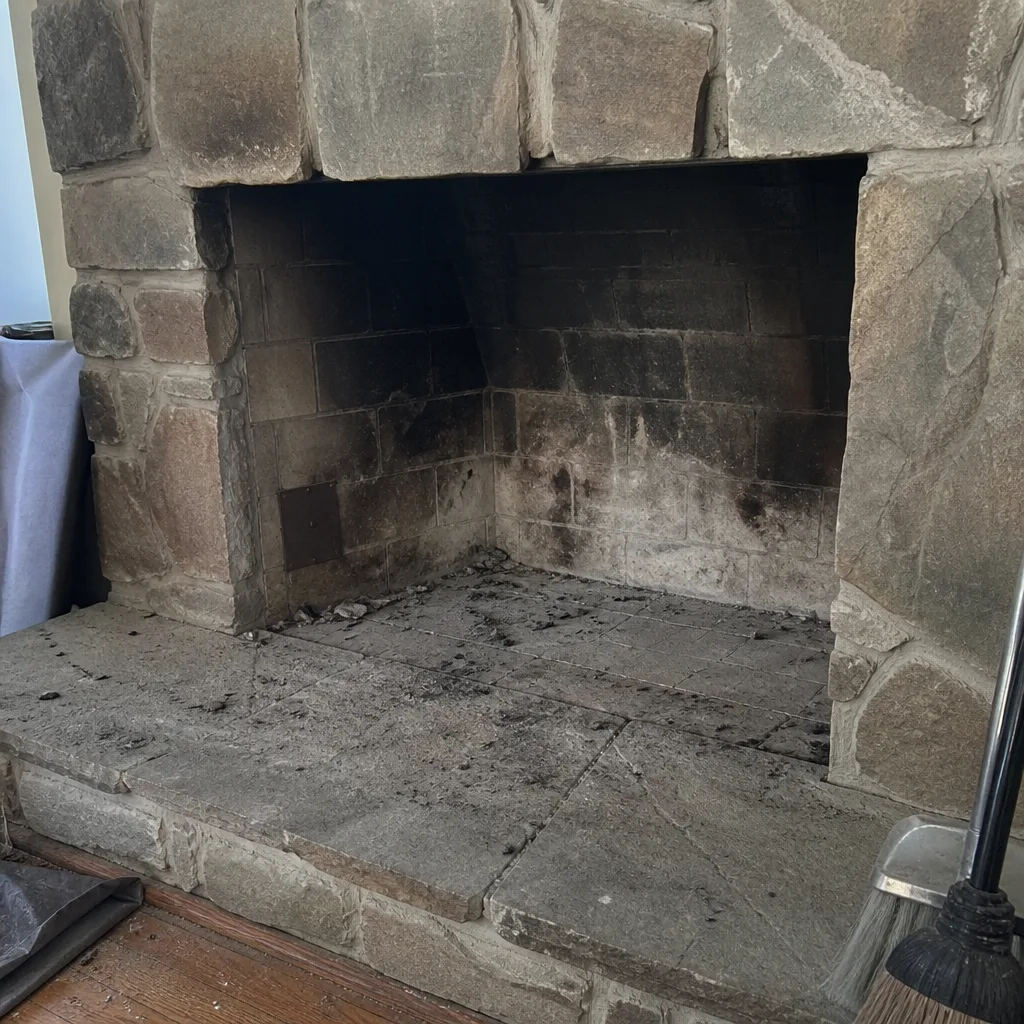 Before
 After
 Before
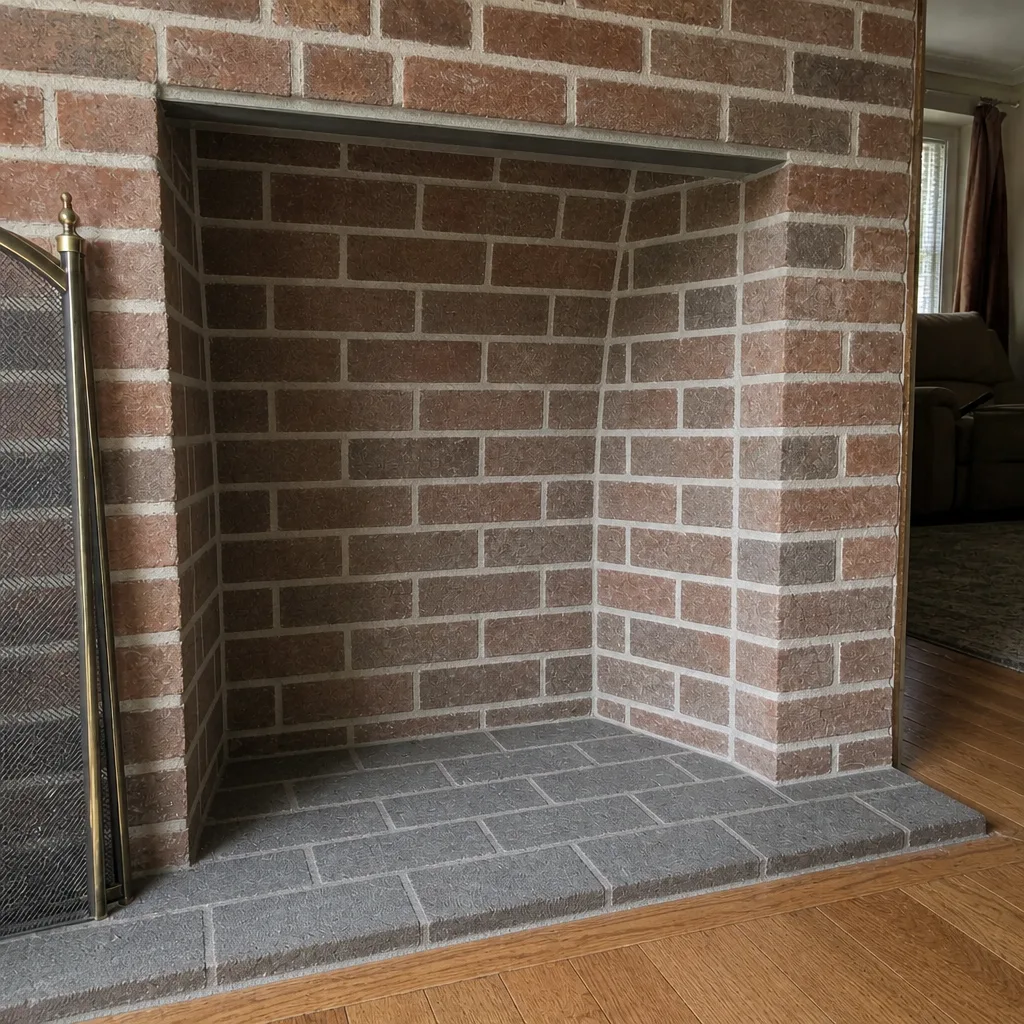 After
When to Call a Professional
Call a specialist if any of these apply to your chimney. A damaged liner or a cracked firebox is a carbon monoxide or fire risk, and it isn’t something to defer. Any visible exterior damage after a storm, any water staining inside the house, and any smoke that backs into the room when you light a fire are all signals to stop burning and get the chimney looked at. A creosote smell that’s stronger than usual, a damper that won’t close, and a flue that hasn’t been swept in more than a year are all worth scheduling. If you’ve never had the chimney inspected since you bought the house, book an inspection first. It’s the honest starting point. Norfolk Chimney Cleaning offers free estimates in Norfolk. Call (844) 496-0079. We answer 24/7. Fast dispatch from 7am to 7pm, Sunday through Friday.
Our technicians have up to 15 years of experience, and we work with professional-grade materials including DuraFlex, HeatShield, Gelco, and Olympia Chimney on the same kinds of repairs that come up in Norfolk’s older housing stock. Whether the answer is a sweep, a liner restoration, or a masonry repair, we inspect before we recommend.
Frequently Asked Questions
At least once a year if you burn regularly, plus once after any storm that drove wind and rain against the roof. In Norfolk, the annual check is the baseline and the post-storm check is the one people skip. Call (844) 496-0079 for an exact quote on an inspection, and estimates are free.
Often a repair is possible without tearing out the chimney. HeatShield and DuraFlex liner systems are designed to restore a damaged flue in place, and that’s frequently the right answer for a Norfolk chimney with localized liner damage. What determines it is the camera inspection. Nothing gets recommended without camera evidence you can see for yourself. Call (844) 496-0079 for a free estimate.
Partially. You can safely check the firebox, damper, and the exterior crown and cap from the ground with binoculars. You should never get on the roof, remove the cap, or try to inspect the flue yourself. The flue and flashing require a specialist. Call (844) 496-0079 for an inspection quote.
Missing or leaning cap, new cracks in the crown, pieces of masonry on the ground or roof, water stains on the ceiling or attic near the chimney, and any debris in the firebox. If any of those are present, don’t light a fire until the chimney has been checked. Call (844) 496-0079 to book a post-storm inspection, and estimates are free.
Humidity and repeated wet-dry cycling. Norfolk’s climate keeps metal components damp for longer stretches than a dry climate, which accelerates corrosion on galvanized metal. Stainless steel caps last considerably longer in this climate. If your cap is rusting through the mesh, replace it before it fails completely. Call (844) 496-0079 for an exact quote.
Small problems compound. A hairline crown crack widens through freeze-thaw cycles into a masonry problem. A weakened liner turns into a carbon monoxide path. Creosote builds into a fire risk that a sweep would have removed. The cost of catching these early is far lower than catching them late. Call (844) 496-0079 for a free estimate before the season starts.
The Bottom Line
A chimney checklist only protects you if it’s built around what actually fails in your climate and housing stock. In Norfolk, that means storm-driven moisture, freeze-thaw cycling on lime-based mortar in older brick homes, and post-storm checks that a generic annual inspection won’t catch. Run the self-check items from the ground and in the firebox. Leave the roof, the flue, and anything structural to a specialist. Document the chimney once a year so the next inspection has something to compare against. From first inspection to final repair, one specialist, one call. If you’re ready to start, Norfolk Chimney Cleaning is here, and we can also help you plan a full seasonal inspection cycle if you’re new to the area.
Call (844) 496-0079 for a free estimate in Norfolk. We answer 24/7. Fast dispatch from 7am to 7pm, Sunday through Friday.
Written by the team at Norfolk Chimney Cleaning.